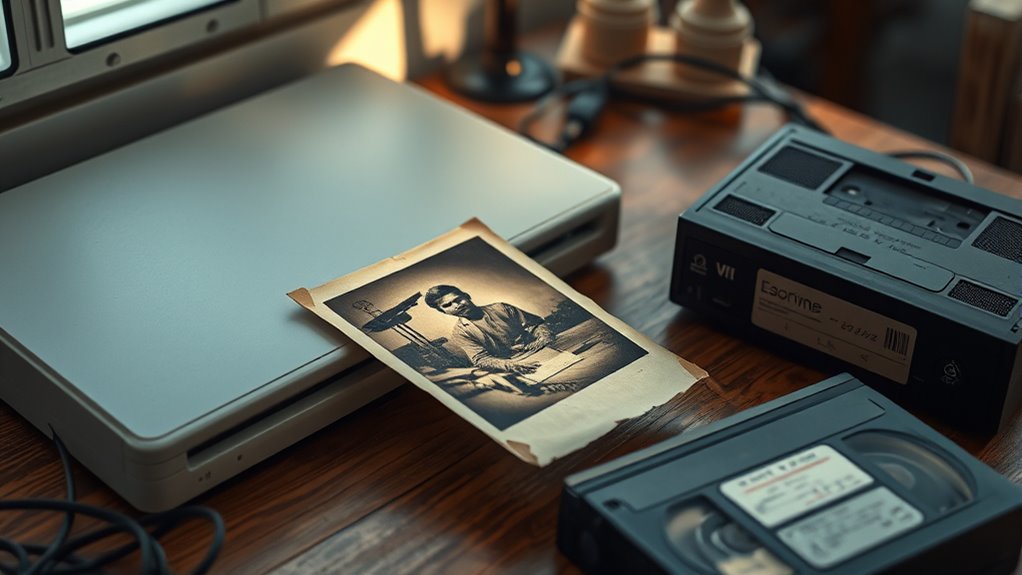

To digitize your memories, start by organizing and evaluating your collection of old photos and VHS tapes. Decide whether to do it yourself or hire professionals based on your budget and time. Gather the necessary equipment like a VHS player, converter, and software, then carefully prepare each item. Follow proper procedures to capture and save digital files in formats that suit your needs. If you want to learn detailed steps to preserve these precious memories, keep exploring further.
Key Takeaways
- Gather and organize your photos and VHS tapes, inspecting for damage and labeling for easy identification.
- Choose between DIY digitization with suitable hardware/software or hiring professional services based on budget and skills.
- Use quality analog-to-digital converters and capture software like OBS Studio or BlackMagic Media Express for recording.
- Save digital files in versatile formats such as MP4 or MOV, and organize them with clear folders and descriptive filenames.
- Back up digital copies regularly to external drives or cloud storage to preserve your memories long-term.
Top picks for "digitize memory scan"
Open Amazon search results for this keyword.
As an affiliate, we earn on qualifying purchases.
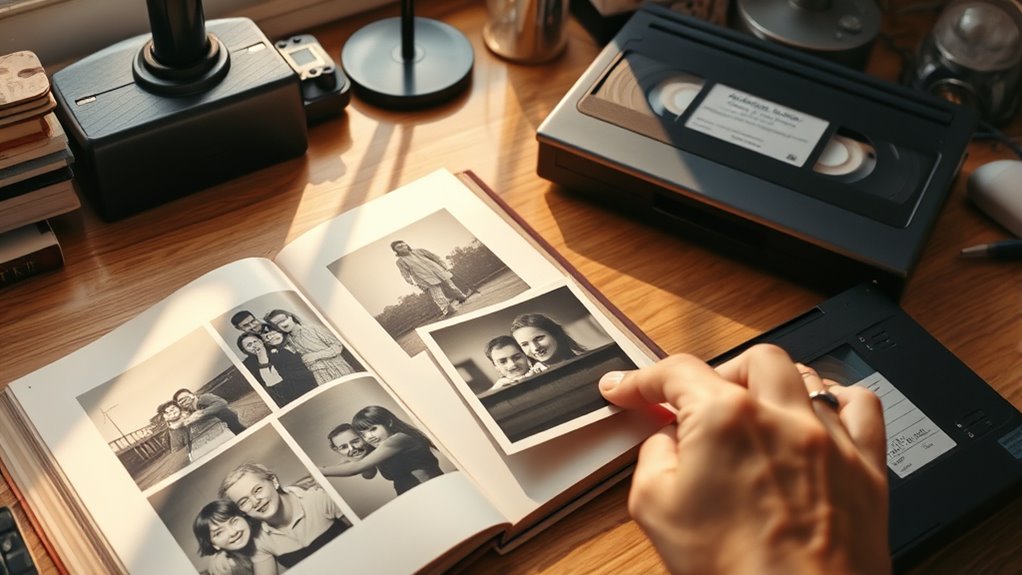
Assessing Your Collection of Photos and Tapes

Before you begin digitizing, it’s essential to assess your collection of photos and tapes to determine what needs preservation. Start by gathering all your items in one place and sorting through them. Identify the most valuable or fragile items that require careful handling. Make a list or photo inventory to keep track of what you have, noting formats like VHS, Betamax, or printed photos. Check the condition of tapes—look for mold, warping, or fading—and decide if they’re worth digitizing. For photos, note which are damaged or discolored. This step helps prioritize your efforts and ensures you don’t miss anything important. Organizing your collection now saves time later and prevents accidental loss of cherished memories during the process. Understanding the precious metals market can also help if you’re considering using investment strategies to fund your digitization project. Additionally, incorporating the Law of Attraction principles can help you set positive intentions for your project and attract the resources needed. Exploring vintage media formats can provide insights into the best equipment needed for converting your tapes efficiently. To further streamline the process, researching flat iron bike technology can inspire innovative solutions for handling fragile media during digitization. Recognizing the importance of security concerns in new media standards can also ensure your digital copies remain safe from potential threats.
Choosing Between DIY and Professional Digitization
When deciding whether to do it yourself or hire a professional, consider how much time and money you’re willing to invest upfront. DIY projects can save you costs but may require a learning curve and extra effort, while professionals offer expertise but come at a higher price. Think about the quality you want and whether you have the skills to achieve it on your own. Additionally, understanding projector technology can help you make more informed decisions about the best equipment for your needs. Knowing about net worth can also give insight into the investment levels of professional services versus DIY options. Moreover, researching historical significance can help you determine the importance of preserving certain memories accurately. Being aware of cloud servers and their capabilities can further guide you in choosing digital storage solutions that ensure long-term preservation and security of your digitized memories. Exploring digital resolution options can also impact the clarity and quality of your scanned images.
Cost and Time Investment
Deciding between DIY and professional digitization depends largely on your budget and how much time you’re willing to invest. DIY can save money upfront but requires purchasing equipment, software, and dedicating hours to the process. Professional services, on the other hand, might cost more per tape but handle everything efficiently, saving you time. Additionally, home improvement knowledge can help you set up a better workspace and troubleshoot equipment issues effectively. Being aware of preservation techniques can also improve the quality of your digitized memories and ensure their longevity.
Quality and Expertise
Choosing between DIY and professional digitization depends on the quality you want and the expertise you trust. If you have the necessary equipment and technical skills, DIY offers control over the process and can be cost-effective. However, it requires a good understanding of equipment, software, and troubleshooting to achieve high-quality results. Professional services employ trained technicians who handle delicate tapes and photos with care, ensuring ideal quality and minimal loss. They also have access to specialized tools like high-end scanners, upscaling technology, and professional-grade converters, which can notably enhance your memories’ clarity. If you value convenience and superior quality, investing in professional digitization is the better choice. Conversely, if you’re comfortable with technology and want to save money, DIY can be a satisfying option.
Gathering Equipment and Software for DIY Projects

To start your DIY digitization project, you’ll need essential hardware like a VHS deck and a converter device to turn analog signals into digital files. Recommended software such as BlackMagic Media Express or OBS Studio will help you record and manage your footage effectively. Gathering the right equipment and tools now guarantees a smoother process and better-quality results. Additionally, using proper maintenance and setup on your equipment can ensure your devices function properly throughout the project. Implementing cybersecurity measures can also protect your digital files from unauthorized access during and after the digitization process. Being aware of your home safety and accessibility can further help you create a safe environment for handling delicate media. Understanding electrical safety is crucial when working with various electronic devices to prevent accidents.
Essential Hardware Components
Gathering the right hardware components is essential for a successful DIY digitization project. First, you need a VHS deck or player with audio and video outputs to play your tapes. Next, a converter device transforms analog signals into digital format; prices range from $10 to several hundred dollars based on quality. An upscaler can improve video quality during the process. You’ll also require video capture software like BlackMagic Media Express or OBS Studio to record your footage. For storage, use a USB drive or external hard drive to save your files securely. Guarantee your computer has sufficient processing power and ports to connect your converter and capture device. Additionally, video quality depends heavily on selecting the right hardware components for optimal results. Be sure to research video signal conversion options to ensure compatibility with your equipment. Choosing high-quality capture devices can significantly enhance the fidelity of your digitized memories. When selecting software options, consider compatibility with your operating system and user interface preferences to streamline your workflow. With these hardware components in place, you’re ready to start digitizing your cherished memories efficiently.
Recommended Software Tools
Selecting the right software tools is essential to guarantee a smooth and efficient DIY digitization process. For capturing video from VHS tapes, programs like BlackMagic Media Express and OBS Studio are popular choices. They record directly from your converter device and support various formats, affirming compatibility. If you need to edit or compress files afterward, software like Handbrake is invaluable for reducing file sizes and converting formats such as MOV to MP4. For organizing your digital library, consider using media management tools like Plex or Adobe Bridge. These help you sort, label, and access your memories easily. Always choose user-friendly interfaces and verify your software updates regularly for security and performance. Combining reliable software with suitable hardware makes your digitization seamless and keeps your memories safe for years to come.
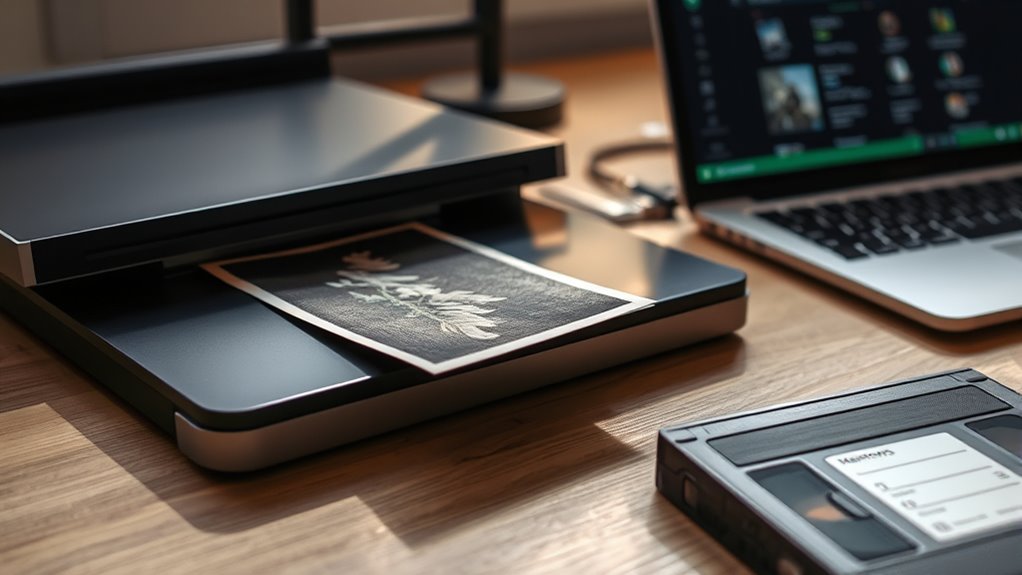
Preparing Your Photos and Tapes for Digitization
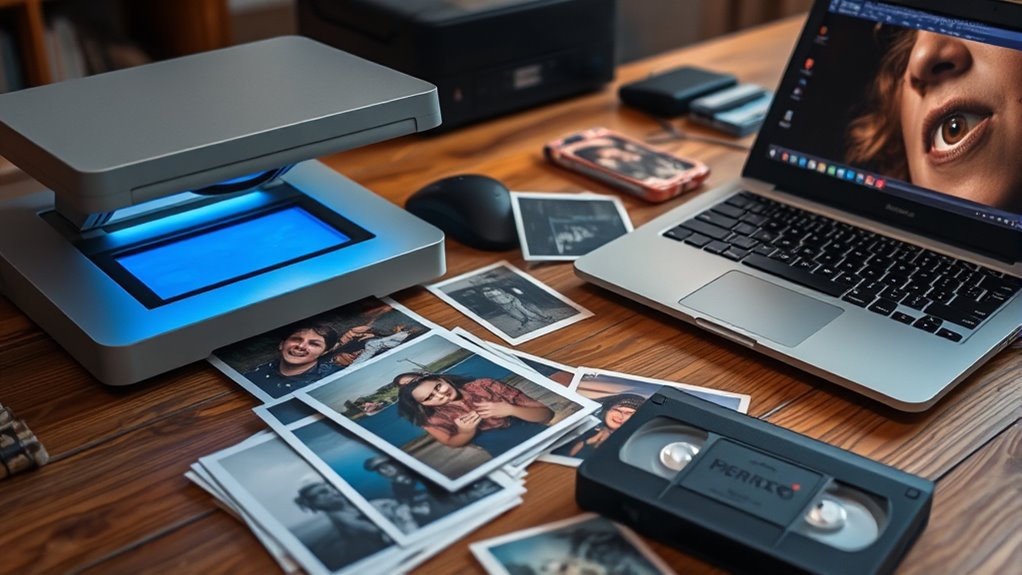
Before you start digitizing, it’s essential to properly prepare your photos and tapes to guarantee the process goes smoothly and the results are high quality. Begin by cleaning your photos with a soft, lint-free cloth to remove dust and dirt that can affect scans. Handle photos by the edges to prevent fingerprints and damage. For tapes, check for mold, moisture, or warping; store them in a cool, dry place until you’re ready to digitize. Label each item clearly to avoid confusion later. If your tapes have loose or broken reels, consider repairing or consulting a professional. Organize your collection so you can easily access each item during the process. Proper preparation minimizes issues and guarantees your memories are preserved in the best possible quality. Additionally, understanding the water quality of your media can help you select the right cleaning and storage methods to prevent deterioration. Being aware of the media condition can also assist in choosing the appropriate digitization techniques and equipment. Recognizing the importance of air purifier maintenance can help keep your working environment clean during the digitization process. For optimal preservation, researching the history of media formats can provide insights into the best conversion methods for each type.
Executing the Digitzation Process at Home

To start digitizing your photos and tapes at home, you’ll need to set up your equipment and prepare your media. Connect your VHS deck or player to your converter device using the appropriate audio and video outputs. Make sure your converter is plugged into your computer via USB or HDMI, depending on the model. Install your capture software, like OBS Studio or BlackMagic Media Express, and test the connection to verify signals are coming through correctly. Insert your tape into the VCR, and open the software to begin recording. Keep your media steady and avoid interruptions during the process. Monitor the recording to ensure quality, and pause or stop as needed. Once finished, save the file to your designated storage device, ready for editing or sharing.
Selecting Output Formats and Ensuring Compatibility
Choosing the right output formats for your digitized videos guarantees they will be compatible with your devices and software. MP4 is the most versatile format, working well on computers, smartphones, and smart TVs. MOV files are ideal if you plan to edit or keep high-quality originals, but they’re larger in size. For sharing with family, consider creating DVDs or burning files onto Blu-ray discs—these formats are widely supported. Cloud storage services also accept common formats like MP4 for easy access across devices. Avoid unusual or proprietary formats that might not open on all software or hardware. Always check your device’s supported formats before finalizing. Converting files using tools like Handbrake ensures compatibility and manageable file sizes, making your digital memories easy to view and share.
Organizing and Preserving Your Digital Files

Organizing and safeguarding your digital files guarantees that your treasured memories remain accessible and protected over time. Start by creating a consistent folder structure that categorizes your files by date, event, or format. Use clear, descriptive filenames to make locating specific memories easy. Regularly back up your files to multiple locations, such as external drives and cloud storage, to prevent loss from hardware failures or accidental deletion. Consider using dedicated photo and video management software to help tag and organize your media. Keep your storage devices in a safe, cool, and dry environment to avoid damage. Periodically review and update your organization system to accommodate new files. Properly organizing and protecting your digital memories guarantees they stay safe, easily accessible, and ready to enjoy for years to come.
Sharing and Backing Up Your Digitized Memories

Once your digital files are well-organized and safely stored, sharing your memories with friends and family becomes simple and enjoyable. You can upload your videos and photos to cloud storage services like Google Drive, Dropbox, or Legacybox Cloud, making them accessible from any device. For instant sharing, create playlists or albums on platforms like YouTube or private social media groups. To prevent loss, back up your files on multiple devices, such as external hard drives or USB drives, and keep copies off-site. Consider printing select photos or creating discs for physical sharing. Regularly update your backups and verify files to guarantee they remain accessible. This way, your treasured memories stay protected, easy to share, and ready for future generations to enjoy.
Frequently Asked Questions
How Long Does It Typically Take to Digitize an Entire Collection?
It typically takes around 4 to 6 weeks to digitize an entire collection through professional services. You can expect faster turnaround if you choose expedited options. When doing it yourself, the process might take longer depending on the size of your collection and your experience. Keep in mind that larger collections require more time for playback, capturing, and organizing. Planning ahead guarantees you can enjoy your memories sooner.
What Are the Best Practices to Prevent Damage During Digitization?
To prevent damage during digitization, handle tapes and photos gently, avoiding fingerprints and dust. Keep equipment in a clean, static-free environment, and make certain your hands are dry and clean. Use proper storage containers for originals, and avoid exposing items to direct sunlight or extreme temperatures. Regularly clean your playback devices and cables, and follow manufacturer instructions carefully to maintain the integrity of your memories during the process.
Can I Convert Other Video Formats Besides VHS at Home?
You can absolutely convert other video formats at home! Most DIY setups support formats like VHS-C, Betamax, 8mm, Hi8, Digital8, MiniDV, and MicroMV with the right equipment. You’ll need a compatible playback device and a converter to transform these analog signals into digital files. Using video capture software, you can record and save your videos in popular formats like MP4 or MOV, making it easy to preserve your memories across devices.
How Do I Ensure the Quality of the Digitized Files?
To guarantee the quality of your digitized files, start by using a high-quality converter device and a reliable VHS deck. Adjust your upscaler settings for enhanced resolution. Use good video capture software like BlackMagic Media Express or OBS Studio, and record at the highest possible quality settings. Store your files on a fast external drive, and review your recordings to check for clarity, color accuracy, and audio synchronization before finalizing.
Are There Any Legal Considerations When Digitizing Copyrighted Content?
When digitizing copyrighted content, you should consider copyright laws and fair use policies. You might need permission from the rights holder if you’re reproducing protected material beyond personal use. Avoid sharing or distributing copies publicly without proper authorization, as it could lead to legal issues. Always respect intellectual property rights, and if you’re uncertain, consult legal guidance or opt for content you own or have permission to digitize.
Conclusion
As you digitize your cherished memories, you’ll find that the effort brings unexpected clarity and connection, revealing stories you didn’t realize you’d forgotten. Coincidentally, as you organize and share these files, you’ll rediscover not just your past, but a renewed appreciation for the moments that shaped you. In embracing this process, you create a timeless bridge between yesterday and today, ensuring your memories remain vivid for generations to come.