To overclock your PC for better performance, start by researching your hardware’s limits and updating your BIOS. Use tools like Intel® XTU or MSI Afterburner to gradually increase clock speeds and voltages, testing stability and monitoring temperatures often. Make sure your cooling system is effective, and watch for signs of overheating or instability. Carefully balancing these adjustments minimizes risks, and if you stay cautious, you’ll open more performance — learn how to do it safely.
Key Takeaways
- Gradually increase CPU or GPU clock speeds and voltages while continuously testing stability and monitoring temperatures.
- Use reliable overclocking tools like Intel® XTU, MSI Afterburner, and stress-testing software to ensure safe adjustments.
- Keep your cooling system efficient, clean heatsinks, and consider upgrading to aftermarket cooling solutions for better thermal management.
- Backup important data before overclocking and stay alert to signs of overheating or system instability.
- Balance performance gains with thermal limits and stability to prevent hardware damage and ensure long-term system reliability.
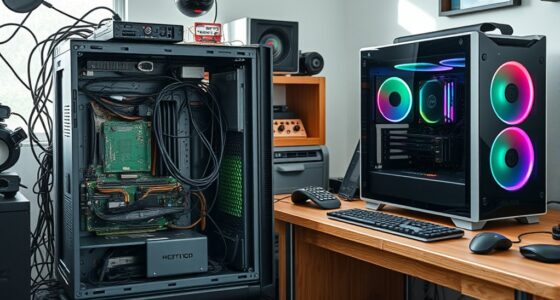
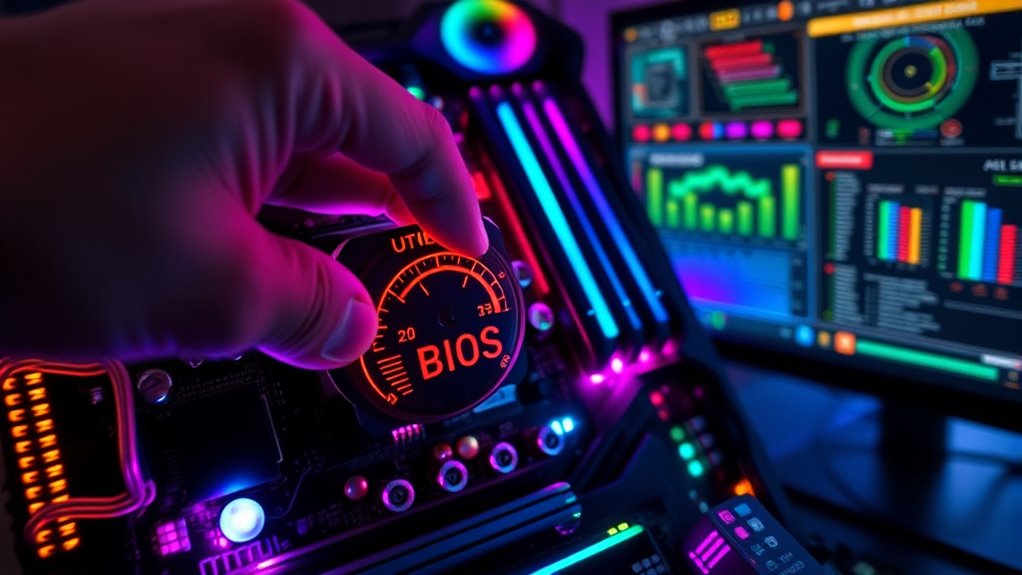
Understanding the Basics of Overclocking
Understanding the basics of overclocking is essential before you start pushing your hardware beyond its default settings. Overclocking means increasing your CPU or GPU speeds past what the manufacturer specifies to boost performance. You typically do this using software tools like Intel® XTU or through BIOS adjustments. The process involves gradually raising the clock multiplier or core voltage, then testing stability at each step. It’s crucial to benchmark your system beforehand to measure improvements and identify issues. Using a good motherboard with strong power delivery helps ensure stability. Remember, overclocking can generate extra heat and stress your components. So, monitoring temperatures and understanding your hardware’s limits are key to safe overclocking. Additionally, building reliable connections and ensuring proper cable management can help maintain system stability during overclocking. Knowing your system’s thermal management capabilities is vital to prevent overheating. Being aware of the power delivery quality of your components can significantly impact your overclocking success. Conducting thorough research on component compatibility ensures your hardware can handle increased speeds safely. A thorough understanding of system cooling solutions can further improve overclocking stability and longevity. Taking these basics seriously sets the foundation for a successful overclocking experience.
Choosing the Right Tools and Software
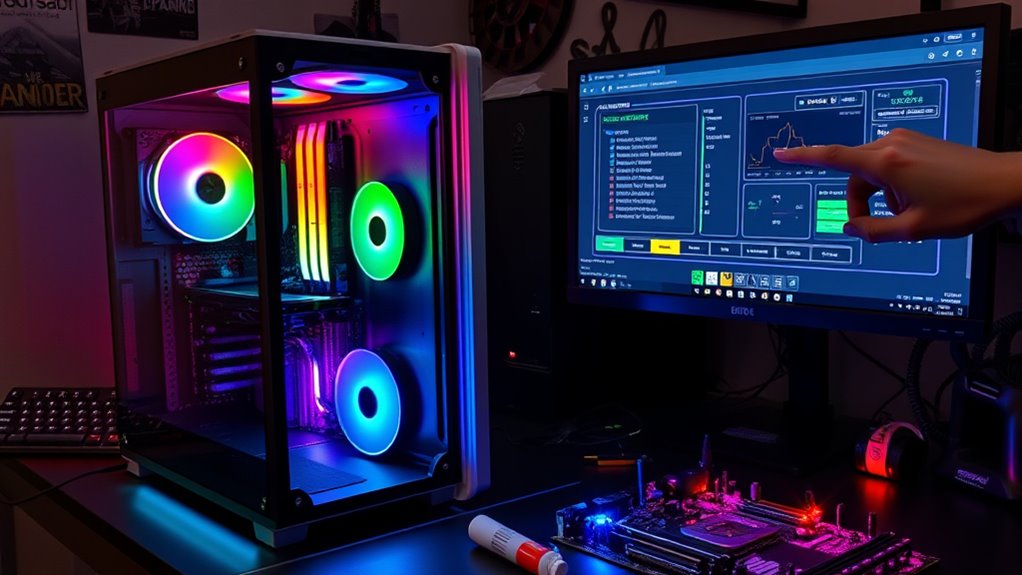
To overclock your PC effectively, you need the right tools and software to guide your adjustments and monitor performance. Essential utilities like Intel® XTU, MSI Afterburner, and stress-testing programs help you tune settings and guarantee stability. Using monitoring tools like Core Temp and Cinebench keeps temperatures and performance in check throughout the process.
Essential Overclocking Utilities
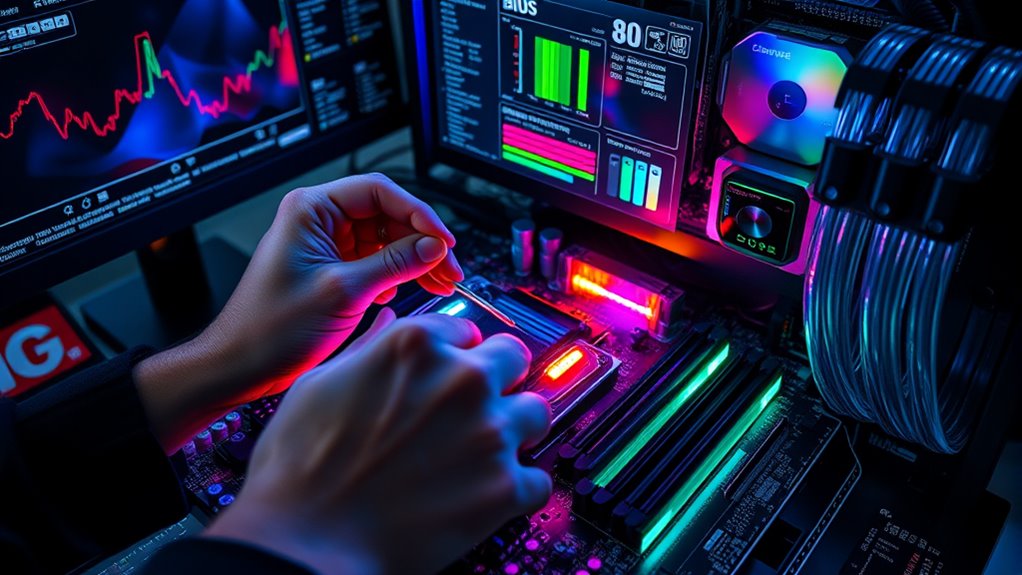
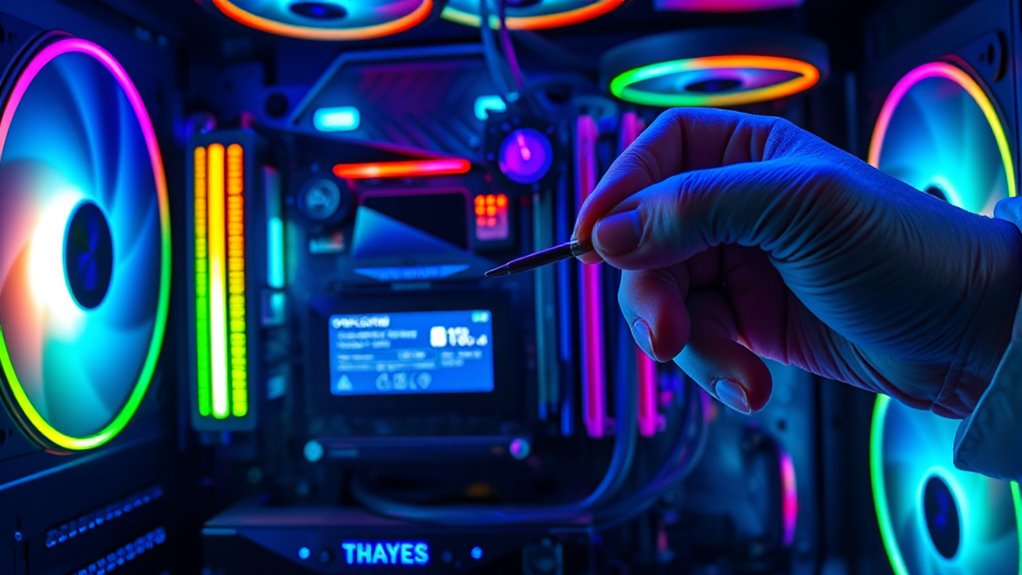
Choosing the right overclocking utilities is essential for a smooth and safe overclocking experience. Start with tools like Intel® Extreme Tuning Utility (XTU) for CPU overclocking—it’s user-friendly and combines benchmarking, tweaks, and stress-testing. For GPU overclocking, MSI Afterburner is popular; it allows you to adjust clock speeds and voltages easily. Use stress-testing tools like MSI Combuster or Prime95 to verify stability after each change. Monitoring software such as Core Temp or HWMonitor helps keep track of temperatures and voltages during overclocking. BIOS or UEFI firmware provides advanced controls for manual adjustments if you prefer a more direct approach. These utilities, used correctly, help you optimize performance while minimizing risks, ensuring your hardware stays safe during the overclocking process. Proper utility selection is key to maintaining safety and achieving optimal results.
Monitoring and Stress Tools
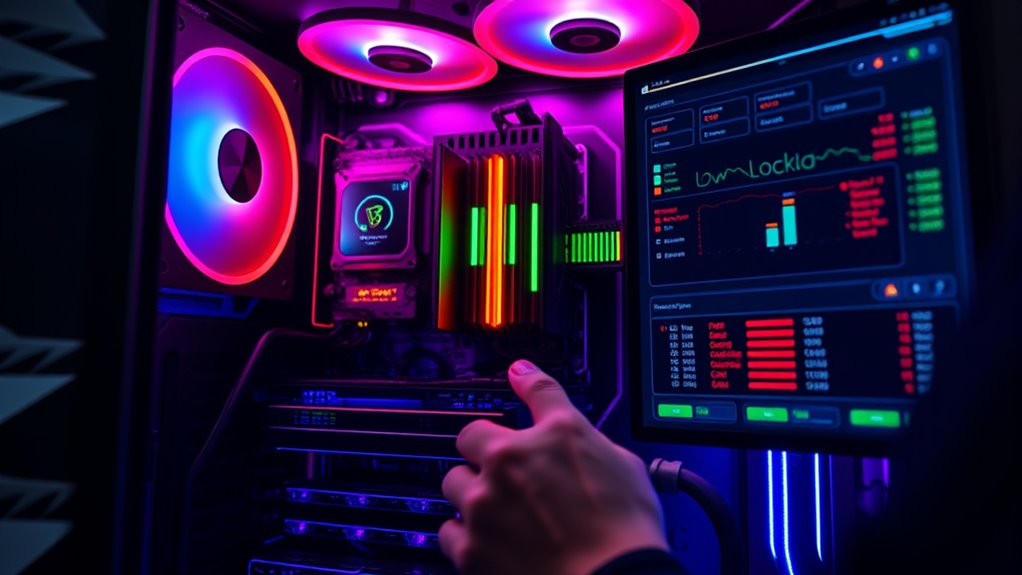
Selecting the right monitoring and stress testing tools guarantees your overclocking efforts stay safe and effective. You need software that tracks temperatures, voltages, and clock speeds in real-time, like Core Temp or HWMonitor, to prevent overheating and hardware damage. Stress testing tools such as Prime95, AIDA64, or MSI Combuster push your system to its limits, revealing stability issues early. Use these programs during and after overclocking to ensure your CPU and GPU handle increased speeds under load. Consistent monitoring helps you identify unsafe temperature spikes or voltage irregularities, allowing you to make necessary adjustments. Incorporating Free Floating diagnostic tools can help detect underlying issues before they cause hardware failure. Regularly updating your hardware drivers and BIOS ensures compatibility and optimal performance during overclocking. Combining precise monitoring with thorough stress testing ensures your overclocked system remains stable, cool, and long-lasting.
Preparing Your System Before Overclocking
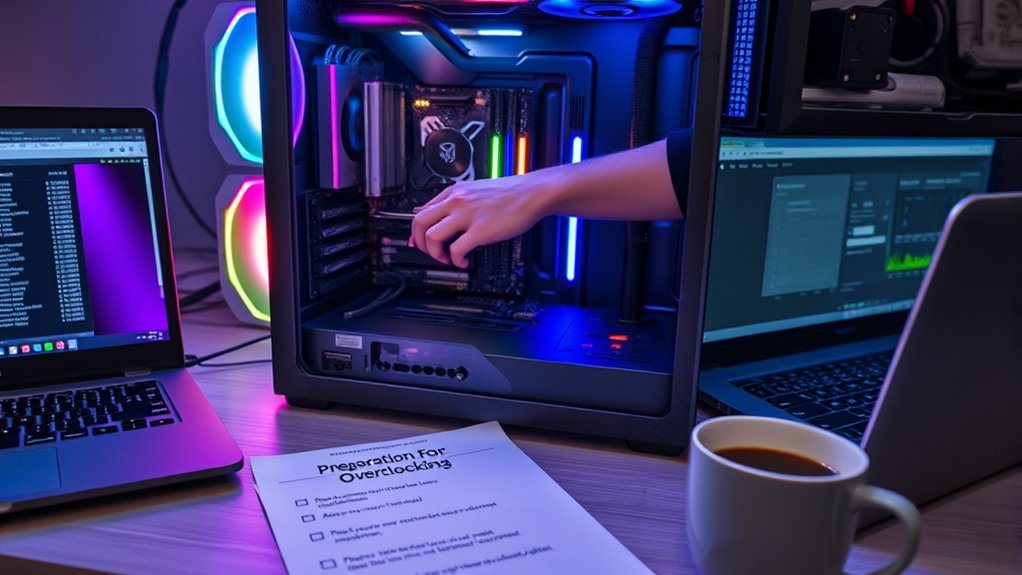
Before you start overclocking, make sure to back up all your important data to prevent any loss if issues occur. Check that your hardware is compatible with overclocking to avoid potential problems or damage. Taking these steps helps confirm your system is ready for a safe and effective overclocking process. Additionally, review your privacy policy to understand how your data may be affected during system modifications. Ensuring your hardware’s performance capabilities are sufficient is also important to avoid straining components beyond their limits. Moreover, verify that your cooling system is adequate to handle increased thermal output during overclocking, which can help prevent overheating and extend your hardware’s lifespan. To prevent potential damage, always monitor your system’s thermal management during the overclocking process.
Backup Important Data
Are you prepared to overclock your PC without risking data loss? Before making any hardware changes, backing up your important data is essential. Follow these steps:
- Save all critical files to an external drive or cloud storage to prevent loss if something goes wrong.
- Create a system restore point in your operating system to revert to a stable state if needed.
- Backup your BIOS settings, so you can restore defaults if overclocking causes issues.
- Use disk imaging software to clone your current system, providing a full recovery option.
- Managing files and documents effectively can help streamline your overall system maintenance and recovery processes.
Taking these precautions guarantees your data stays safe, even if overclocking introduces instability or hardware failures. Don’t skip this step—it’s your safety net.
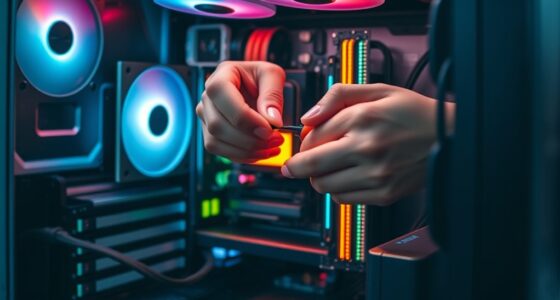
Check Hardware Compatibility
Ensuring your hardware is compatible is a crucial step before overclocking, as it helps prevent potential damage and stability issues. Start by checking your CPU’s specifications and motherboard compatibility. Not all motherboards support overclocking—look for models with Z-series chipsets (like Z690 or Z790 for Intel, or B550/X570 for AMD). Verify your RAM’s supported speeds and timings; overclocking RAM requires compatible modules. Make sure your power supply can handle increased power demands, and confirm your cooling solution is adequate for higher temperatures. Update your BIOS to the latest version, as manufacturers often improve overclocking support through firmware updates. Finally, consider the age and health of your hardware, since older components may be less reliable under increased loads.
Step-by-Step Guide to Overclocking Your CPU and GPU
To successfully overclock your CPU and GPU, you need a clear, step-by-step approach that minimizes risks and maximizes performance gains. Start by:
- Benchmarking your current system to record baseline performance and temperatures. This initial step helps you understand your system’s performance baseline and identify potential bottlenecks before making adjustments.
- Incrementally increasing your CPU or GPU clock speed, usually by 100 MHz, testing stability after each step. This gradual approach allows you to observe how your hardware responds to increased load.
- Adjusting voltage carefully if stability issues occur, ensuring not to overshoot safe limits. Carefully managing voltage helps prevent hardware damage and prolongs component lifespan.
- Running stress tests like Prime95 or MSI Combustor to verify stability and temperature control. These tests are essential for detecting potential overheating or system crashes under heavy load.
- Continuously monitoring your system’s thermal performance to prevent overheating and hardware damage. Keep cooling solutions in check and avoid rushing the process. Incremental adjustments help you find the sweet spot for performance and stability, especially considering that nanotechnology advancements are increasingly improving cooling solutions and thermal management strategies.
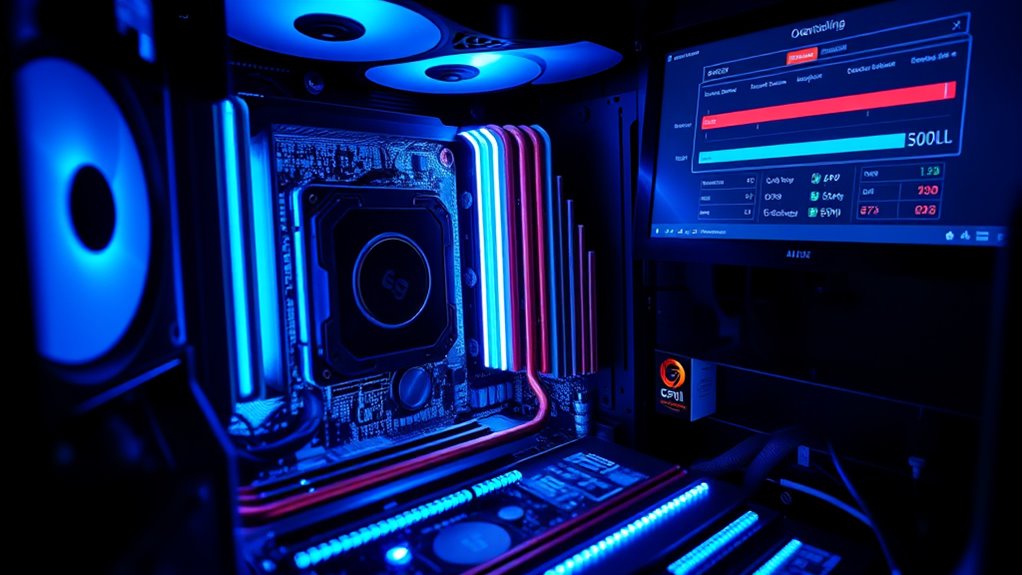
Monitoring Temperatures and Power Consumption
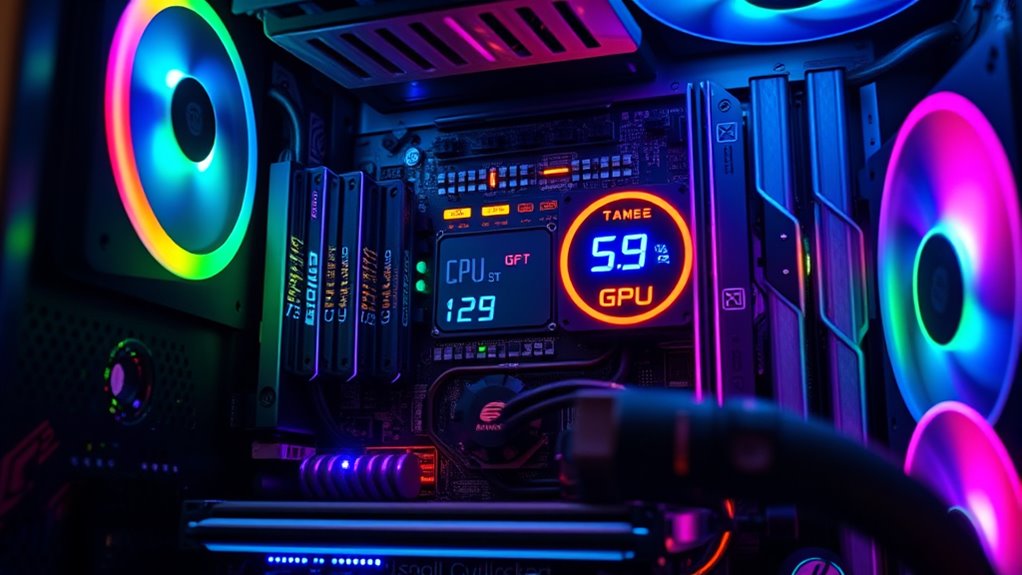
Monitoring temperatures and power consumption is crucial during overclocking because high temperatures and excessive power draw can lead to instability or hardware damage. You should use tools like Core Temp, HWMonitor, or MSI Afterburner to keep an eye on CPU and GPU temperatures in real time. If temperatures approach 85°C or higher, consider lowering your overclock or improving cooling. Tracking power consumption helps prevent overloading your power supply or motherboard VRMs, which can cause system crashes or damage. Use software that displays wattage and voltage to ensure you’re within safe limits. Regular monitoring during stress tests and gaming sessions gives you a clear picture of your system’s thermal and power health. Staying vigilant helps maintain stability and extends your hardware’s lifespan. Additionally, understanding thermal limits can help you set safe overclocking parameters and avoid overheating. Being aware of power efficiency can also help optimize your system for both performance and longevity. Keeping an eye on system stability ensures that your overclock remains reliable over time. Moreover, understanding the impact of component quality can influence your overclocking success and hardware durability.
Recognizing and Managing Risks During Overclocking
Recognizing and managing risks during overclocking is essential to prevent hardware damage and system instability. You need to stay alert to signs your system is pushing too hard. Here are key steps:
- Monitor temperatures constantly; high temps can cause thermal damage.
- Adjust voltages cautiously; excessive voltages increase risk of component failure.
- Test stability after each change; crashes or errors signal instability.
- Be ready to revert settings quickly if you encounter overheating or crashes.
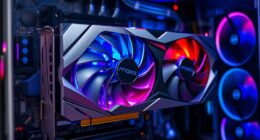
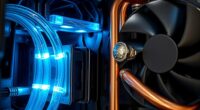
Cooling Solutions and Power Management Tips
Effective cooling is essential when overclocking, as increased clock speeds generate more heat that can damage your components. Upgrading to aftermarket air or liquid coolers helps keep temperatures in check, reducing the risk of thermal throttling or hardware failure. Regularly cleaning heatsinks and reapplying thermal paste improves heat transfer efficiency. Adjust fan speeds and increase power limits via software tools to maintain stable operation without overheating. Monitoring temperatures with tools like Core Temp or HWMonitor ensures you stay within safe thresholds. Be cautious not to push voltage or clock speeds too high, as excessive power can stress your hardware. Proper cooling and power management not only protect your PC but also allow you to push performance further without risking damage. Incorporating local automation can help you create custom cooling profiles that optimize performance and temperature control based on workload. Additionally, utilizing thermal management strategies can further enhance system stability and longevity during overclocking, especially when combined with proper power regulation techniques. Understanding hardware specifications and their limitations is crucial for safe overclocking and maintaining system health.
Implementing temperature monitoring tools enables real-time feedback, helping you fine-tune your system for optimal results.
Ensuring Stability and Measuring Performance Gains
To guarantee your overclocked system remains stable, you need to verify that increased clock speeds and voltages don’t cause crashes or errors. First, run stress tests like Prime95 or AIDA64 for several hours to check stability. Second, monitor temperatures using tools like Core Temp or HWMonitor, ensuring they stay within safe limits. Third, compare your performance with baseline benchmarks using tools like Cinebench or 3DMark to measure gains. Fourth, adjust settings if instability occurs by lowering frequencies or voltages, then retest. Keep detailed records of each change and result to identify the best balance between performance and stability. This systematic approach helps you optimize your overclock without risking hardware damage.
Frequently Asked Questions
Can Overclocking Permanently Damage My Hardware?
Overclocking is like pushing your hardware’s limits on a tightrope—if you go too far without proper caution, you risk snapping the wire. Yes, it can permanently damage your components if temperatures spike or voltage is mismanaged. Over time, excessive heat or voltage can cause irreversible harm, degrading your hardware’s lifespan. To avoid this, always monitor temperatures, use proper cooling, and dial back if you notice instability or excessive heat.
Is Overclocking Safe for Laptops or Only Desktops?
Overclocking is generally riskier for laptops than desktops because of their limited cooling and power capacity. You might boost performance temporarily, but overheating or insufficient cooling can damage internal components. If you decide to overclock your laptop, proceed with caution, monitor temperatures constantly, and avoid pushing settings too high. Keep in mind, most laptops aren’t designed for overclocking, so it’s often better to upgrade hardware or optimize software instead.
How Long Should Stability Tests Run After Each Overclock?
Think of your overclocking journey like tending a delicate garden; patience is key. After each adjustment, run stability tests for at least 30 minutes to an hour, like nurturing your plants with gentle care. If you notice stability or temperature issues, extend testing to several hours or overnight. This careful approach guarantees your system remains healthy, resilient, and ready to flourish without risking damage.
Do I Need to Upgrade My Power Supply for Overclocking?
Yes, you should upgrade your power supply when overclocking. Overclocking increases power draw, which can strain your existing PSU, especially if it’s not high quality or has a lower wattage capacity. A more powerful, stable power supply guarantees your system receives enough clean power, reducing the risk of crashes, hardware damage, or instability. Investing in a good PSU helps maintain system reliability during overclocking efforts.
Will Overclocking Void My CPU or GPU Warranty?
Yes, overclocking can void your CPU or GPU warranty because manufacturers consider it non-standard operation that increases wear and tear. When you push your hardware beyond default settings, you’re taking risks that often void the warranty coverage. Keep in mind, some manufacturers offer warranties that may cover certain overclocked components if done within safe limits, but generally, overclocking increases the chance of losing warranty protection.
Conclusion
Now that you know how to overclock your PC, you’re not just boosting performance—you’re releasing a beast capable of conquering any game or task. But remember, pushing your hardware to its limits is like riding a lightning bolt—exciting but risky. Tread carefully, monitor every change, and respect the power you’re unleashing. With great overclocking comes great responsibility—so stay vigilant and keep your system safe while reaching for that ultimate performance peak.