
First, check that your power cables are securely connected and the outlet works by plugging in another device. Inspect all hardware components inside your computer or laptop for loose connections or visible damage. Try pressing the power button firmly or performing a hard reset by unplugging and holding the power button for 15 seconds. Look for lights or beeps indicating issues. If external devices are connected, disconnect them. For more detailed steps, continue exploring to get your system back on track.
Key Takeaways
- Check all power connections, outlets, and external devices to ensure proper power delivery.
- Inspect internal hardware components, including RAM and graphics card, for secure seating and damage.
- Perform a power reset by holding the power button or disconnecting power, then trying to turn on again.
- Test power cables and outlets with other devices to rule out faulty power sources.
- Seek professional repair if the issue persists after basic troubleshooting.
Check the Power Source and Cables

Have you checked if your computer is properly connected to a power source? First, verify the power cable is firmly plugged into both your computer and the wall outlet. Sometimes, cables can become loose or disconnect without you noticing. If you’re using a power strip, confirm it’s turned on and functioning correctly. Try plugging the computer directly into a different outlet to rule out faulty power sources. Inspect the power cable for any visible damage like frays or cuts; replace it if needed. Additionally, confirm that the outlet has power by plugging in another device. Sometimes, a simple connection issue causes the computer not to turn on, so double-checking these basics can save you time before exploring more complex problems. Also, understanding the importance of power source and cables can help prevent future troubleshooting headaches. Ensuring your power supply stability is consistent can improve overall device performance and longevity. Regularly inspecting your electrical connections can help identify potential issues early and maintain reliable operation. Remember that electrical safety precautions are essential when handling power-related components to prevent accidents. To avoid future issues, consider using a surge protector to safeguard your device from power fluctuations.
Inspect the Hardware Components
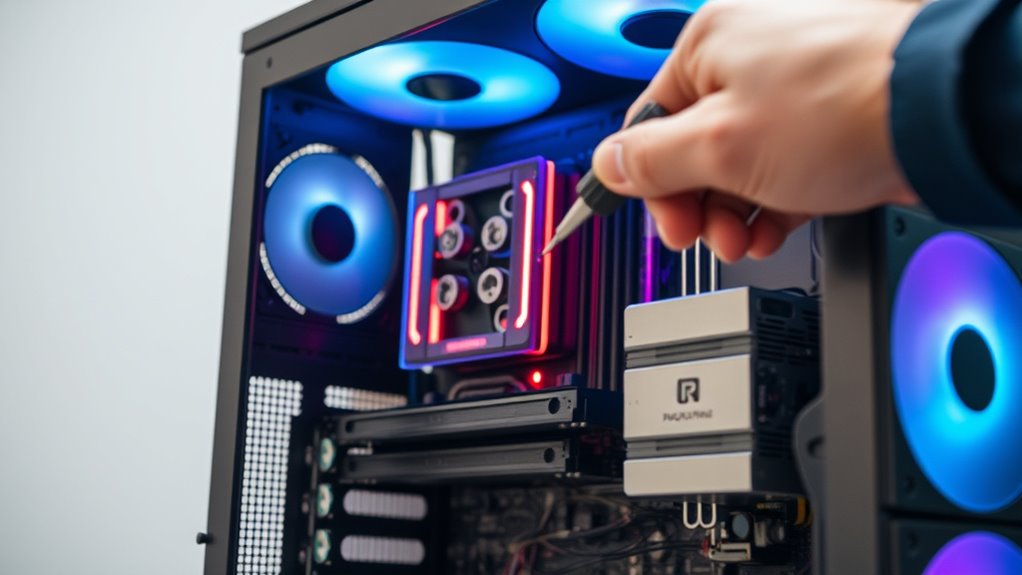
Could a loose or damaged hardware component be preventing your computer from turning on? Carefully open your computer case and inspect the internal components. Check that RAM modules are securely seated in their slots; sometimes, they can become loose. Look for any obvious signs of damage, such as burnt or swollen capacitors, broken connectors, or loose cables. Ensure the graphics card is firmly inserted if you have one. Also, examine the power supply connections to the motherboard and other components. If you notice any damaged parts or loose connections, reseat or replace them as needed. Remember to handle components with care, avoiding static discharge. Conducting a thorough hardware diagnostics can help identify problems more efficiently, especially when checking for connection issues or faulty components. Additionally, verifying that the power supply is functioning correctly can prevent startup failures. Performing visual inspections regularly can help catch potential issues early before they cause startup problems. Incorporating proper troubleshooting procedures ensures a systematic approach to resolving hardware-related startup failures.
Test the Power Button and Connections

First, press the power button to see if it responds properly; if it feels stuck or loose, it might be the cause. Next, check that all power cables are securely connected to both the computer and the outlet. Ensuring these connections are tight can often resolve startup issues. Additionally, consider whether your device utilizes energy-efficient hardware, which can impact its power responsiveness. If the problem persists, inspecting the hardware components for any visible damage or loose connections can also be helpful. Also, verifying that the power supply unit is functioning correctly can prevent startup failures. Recognizing how hardware compatibility affects your device can assist in diagnosing more complex power problems. Furthermore, understanding sector performance metrics can help identify if internal components are influenced by broader system issues.
Check Button Functionality
Since a faulty or loose power button can prevent your computer from turning on, it’s important to test its functionality and connections. First, press the power button firmly and listen for any response—no beep or light could mean it’s not engaging. Second, check the button for any visible damage or looseness; a wobbly or stuck button might be the culprit. Third, if your computer has a reset or alternative power switch, try pressing that to see if it powers on. Additionally, inspect the wiring behind the button to ensure it’s securely connected to the motherboard. If the button feels loose or unresponsive, replacing or repairing it could resolve your startup issue quickly.
Inspect Power Cables
Have you checked that all power cables are securely connected? Make sure the power cord is firmly plugged into both the wall outlet and your computer’s power supply. Sometimes, cables can become loose or disconnected without you noticing. If you’re using a power strip or surge protector, verify it’s turned on and functioning properly. Inspect the cables for any visible damage, fraying, or cuts. If possible, try replacing the power cable with a known working one to rule out a faulty cord. Confirm the power outlet is active by testing it with another device. Proper connections are essential; loose or damaged cables can prevent your computer from powering on. Addressing these simple issues often resolves the problem quickly.
Attempt a Hard Reset or Power Cycle

To perform a hard reset, disconnect your computer from the power source. Then, hold down the power button for about 15 seconds to drain any remaining energy. Once done, reconnect the power and try turning your computer on again. If the issue persists, check for hardware problems that may require professional assistance. It’s also a good idea to review your power supply to ensure it’s functioning correctly and providing stable energy to your device. Additionally, inspecting your battery (if applicable) can help identify potential power issues. Being aware of electrical issues in your environment can further prevent power-related problems with your computer. Ensuring proper ventilation can help prevent overheating that might cause startup issues.
Disconnect Power Source
When your computer won’t turn on, disconnecting the power source is a simple yet effective first step. It helps guarantee there’s no residual power causing issues. To do this:
- Turn off your computer completely.
- Unplug the power cord from the wall outlet or power strip.
- If you’re using a laptop, remove the battery if possible.
This process clears any leftover electrical charge. Wait about 30 seconds to a minute before reconnecting the power. For desktops, plug the power cord back in securely. For laptops, reinsert the battery if you removed it. This reset can often resolve minor power hiccups and prepare your device for further troubleshooting.
Hold Power Button
If your computer still won’t turn on after disconnecting the power source, performing a hard reset by holding down the power button can often resolve the issue. Press and hold the power button for about 10 to 15 seconds, ensuring all residual power is drained from the system. This action resets any stuck hardware states that might be preventing startup. After releasing the button, wait a few seconds, then press it again to attempt turning the computer on normally. This simple step can fix minor glitches or electrical issues that a regular restart can’t address. If your computer still won’t power up, move on to other troubleshooting steps. Remember, holding the power button is a quick, effective way to refresh your device’s hardware state and potentially resolve startup problems.
Look for Indicator Lights or Beeps
Indicator lights and beeps can provide essential clues about why your computer isn’t turning on. When you press the power button, observe any flashing LEDs or blinking lights. These signals often point to specific issues. Beeping sounds are also critical—they indicate hardware problems. To interpret these cues:
- Check the indicator lights: Note their color, pattern, or blinking sequence, which can identify power supply issues or motherboard faults.
- Listen for beeps: Count the beeps and note their pattern. Different sequences signal problems like RAM failure or graphics card issues.
- Compare with manufacturer codes: Consult your computer’s manual or manufacturer’s website to decode the signals and identify the exact issue.
- Understanding Ceiling Fan Troubleshooting can sometimes help identify common hardware issues that also affect computers, such as power supply problems.
Pay close attention—these signs can save you time troubleshooting other components.
Verify External Devices and Peripherals
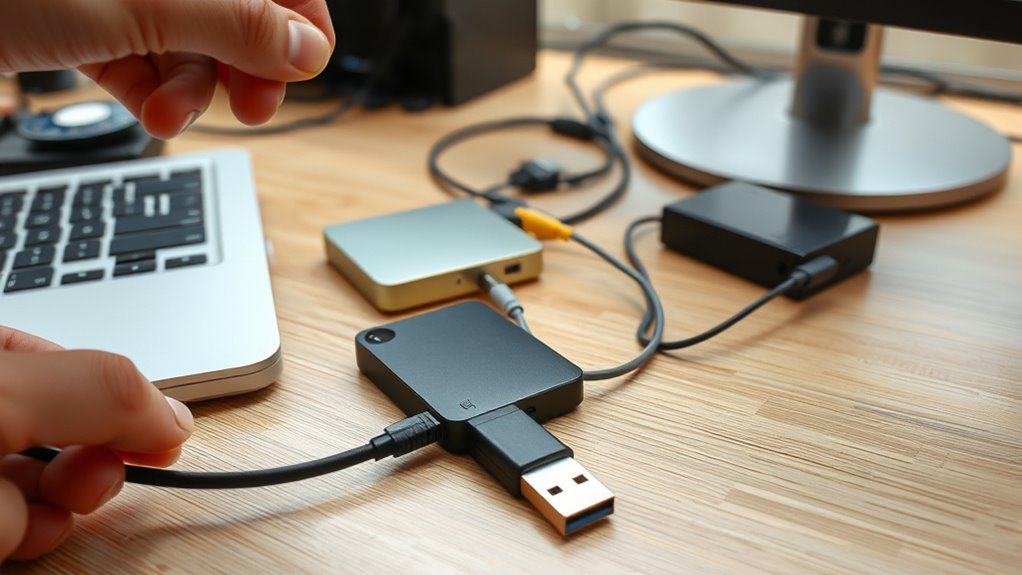
Have you recently connected new external devices or peripherals to your computer? If your PC won’t turn on, these connected devices could be causing the issue. Disconnect all external devices, including USB drives, printers, external hard drives, and peripherals like webcams or keyboards. Sometimes, a faulty device or a short circuit can prevent your computer from powering up properly. After unplugging everything, try turning on your computer again. If it powers up normally, reconnect devices one at a time to identify the culprit. Ensure all cables are secure and undamaged. Remember, peripherals can sometimes draw power or interfere with startup, so isolating them helps determine if they’re the problem. This simple step can save you time and prevent unnecessary troubleshooting. Additionally, simple, room-by-room solutions and seasonal offerings can be a fun way to take breaks during troubleshooting.
Seek Professional Assistance if Necessary

Sometimes, troubleshooting on your own isn’t enough to resolve a computer that won’t turn on. If you’ve tried all basic steps and still face issues, it’s time to seek professional help. Consider these options:
- Contact a certified technician for diagnostics and repairs.
- Visit an authorized service center for warranty-covered repairs.
- Consult your computer’s manufacturer for troubleshooting support.
- Recognize when to explore outdoor kitchen solutions that might be affecting your device’s environment or setup.
Professional assistance can identify underlying hardware failures or complex software problems that aren’t easily fixable at home. Ignoring persistent issues may cause further damage or data loss. If your device is under warranty, reaching out to the manufacturer can save money and ensure proper repairs. Remember, sometimes the best course of action is to rely on experts who have the tools and expertise to get your computer back up and running efficiently.
Frequently Asked Questions
How Do I Know if My Power Supply Is Faulty?
You can tell if your power supply is faulty if your computer doesn’t turn on, and there’s no response when you press the power button. Check if the power supply’s fan spins or if any lights come on. Try swapping it with a known working unit or test it with a power supply tester. If these steps don’t work, your power supply is likely the culprit and needs replacement.
Can Loose RAM Cause My Computer Not to Start?
Did you know that loose RAM causes issues in about 30% of startup problems? Yes, loose RAM can definitely prevent your computer from starting. When your RAM isn’t seated properly, your system struggles to access crucial data during boot, leading to failure to power on. To fix this, turn off your computer, open the case, and firmly reseat the RAM modules. This simple step often resolves the startup issue.
What Does It Mean if My Computer Makes No Beep Sounds?
When your computer makes no beep sounds, it usually indicates a hardware issue or that the motherboard isn’t passing the Power-On Self Test (POST). This could mean a problem with your RAM, graphics card, or other components. Check connections, reseat hardware, or try minimal setup. If no beeps occur despite these steps, you might need professional help to diagnose and fix the underlying problem.
Are There Risks in Opening My Desktop Case?
Don’t put all your eggs in one basket, but opening your desktop case isn’t without risks. If you’re careful, you can avoid static damage and accidental disconnections. Always unplug your computer first, ground yourself, and handle components gently. If you’re unsure or uncomfortable, it’s better to seek professional help. Taking precautions minimizes risks, but rushing in blindly could cause harm or void warranties. Proceed with caution and stay safe.
How Can I Test if My Motherboard Is Broken?
You can test if your motherboard is broken by performing a few simple checks. First, disconnect all power sources and remove unnecessary components, leaving only essential parts like CPU, RAM, and power supply. Then, try to power on the system. If it doesn’t start, look for signs like no beep sounds or LED indicators. You can also test the motherboard outside the case with minimal components or use a known-good power supply.
Conclusion
Think of your computer as a delicate garden. When it refuses to bloom, you must tend to each plant carefully—checking the soil, ensuring sunlight, and removing weeds. Sometimes, a gentle reset or a keen eye on connections is all it takes to bring life back. If the garden still doesn’t flourish, don’t hesitate to call in a gardener—an expert who can nurture your tech back to health and harmony.