To transform an old tablet into a smart mirror display, start by disassembling the tablet carefully, removing the bezel and internal components, then clean and inspect it. Next, pick a suitable two-way mirror and secure it over the screen. Build or buy a frame to house everything, and install smart mirror software like MagicMirror on your device. With some organization and customization, you’ll create a sleek, functional smart mirror, and more tips await if you keep exploring.
Key Takeaways
- Disassemble the tablet carefully, remove the bezel, and clean all components for installation.
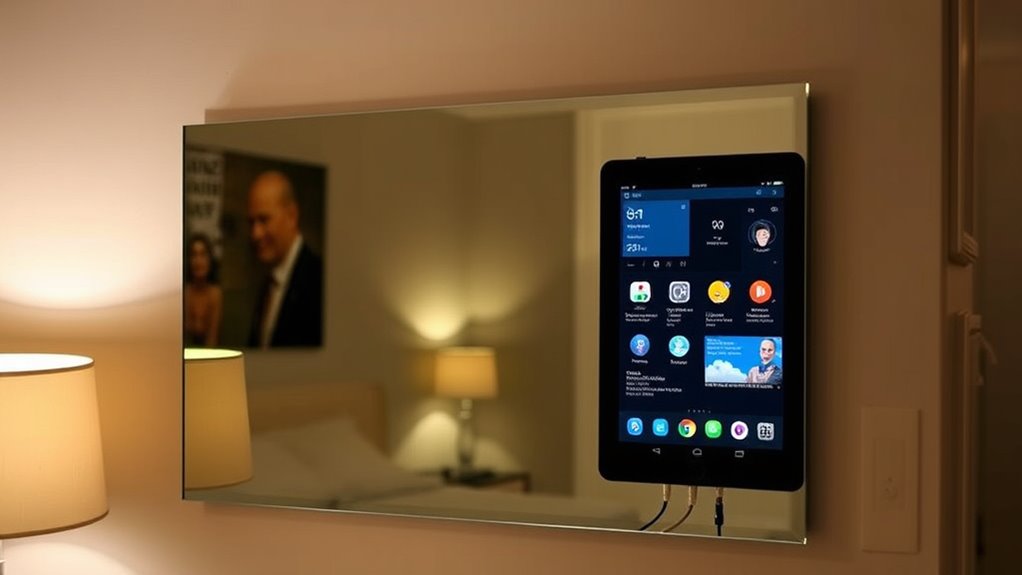
- Mount the tablet behind a two-way mirror, ensuring the reflective side faces outward for a mirror effect.
- Secure the tablet to a backing surface with double-sided tape or glue, maintaining stability during use.
- Install a smart mirror software like MagicMirror on the tablet, then configure widgets and display settings.
- Mount the assembled mirror on the wall, hide cables neatly, and customize the display for a polished look.
Gathering the Necessary Materials and Tools
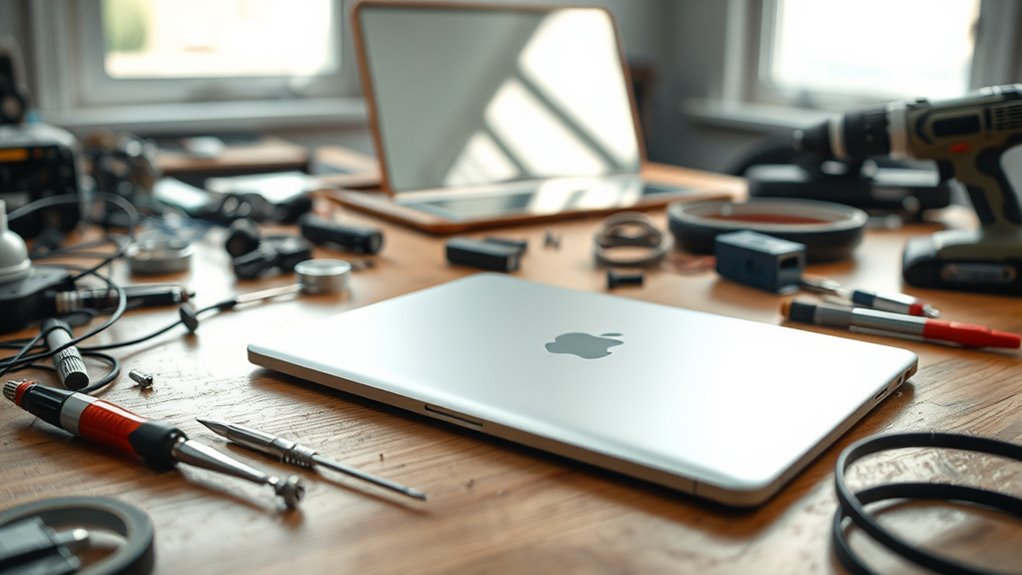
To start constructing your DIY smart mirror, you need to gather all the essential materials and tools first. Begin with a high-quality two-way mirror, preferably glass for better reflection, and a display screen like an old monitor or Android tablet. You’ll also need a sturdy frame or wooden backing to house everything. For more advanced setups, grab a Raspberry Pi, along with its power supply, HDMI cable, and micro SD card. Secure your components with mounting hardware such as nuts, bolts, spacers, and nylon fasteners. Prepare a black card or cardboard cutout that matches your display size, and include a clear acrylic back plate for support. Ensuring your display has high color accuracy will improve the overall visual quality of your smart mirror. Additionally, selecting components with energy-efficient features aligns with sustainable building practices and can help reduce power consumption. Incorporating proper insulation can also help in managing heat and protecting your electronic components. When choosing electronic components, consider those with low power consumption to enhance your mirror’s energy efficiency. It’s also helpful to select components with long-lasting durability to ensure your build remains functional over time. Collecting these materials ensures your build runs smoothly and saves time during assembly.
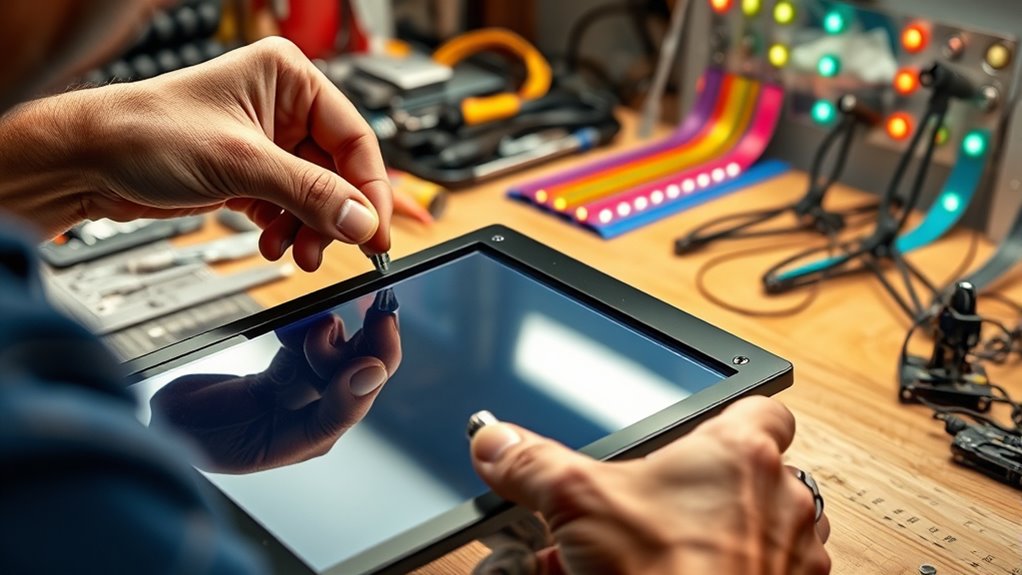
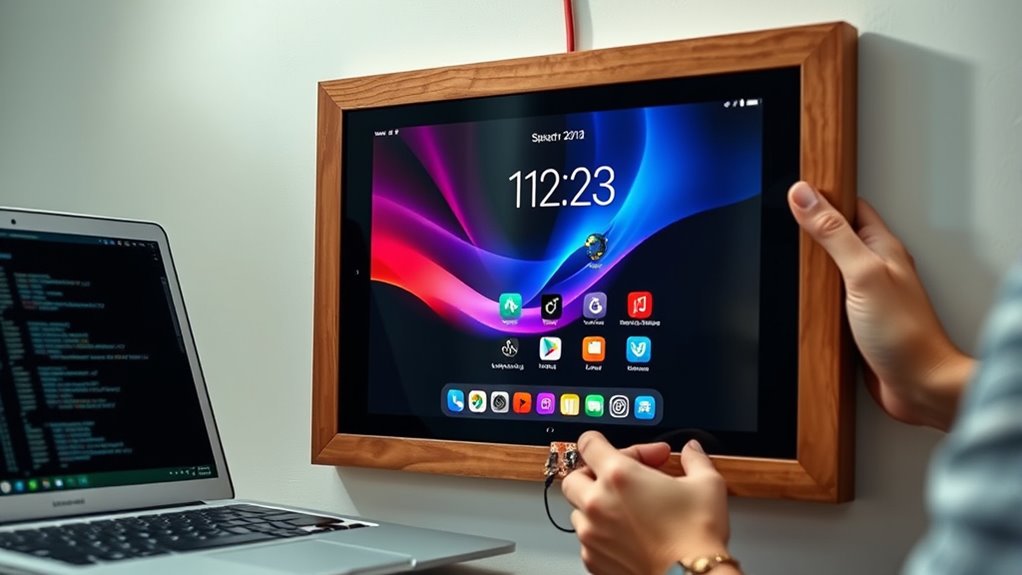
Disassembling and Preparing Your Display

Start by carefully disassembling your display, removing the front bezel and rear housing to access the internal components. Once apart, clean each part thoroughly and inspect for any damage or wear that could affect your project. This preparation guarantees a smooth assembly process and peak performance of your smart mirror. Paying attention to toilet maintenance and repairs can also help ensure all components function properly during your project. Additionally, inspecting the electrical connections ensures reliable power and data transfer for your display. Regularly checking airless paint sprayer maintenance can prevent clogs and extend the lifespan of your equipment. Being aware of waterproofing techniques can further protect your electronics from moisture damage during assembly. Incorporating quality assurance practices can help identify potential issues early, ensuring your smart mirror functions reliably over time.
Display Disassembly Steps
Disassembling your display involves carefully removing the front bezel, rear housing, and separating internal components to access the screen and circuitry. Start by powering off and disconnecting all cables. Use a plastic pry tool or screwdriver to gently lift the bezel without cracking the glass or plastic. Once removed, unscrew the rear housing to expose internal parts. Carefully disconnect ribbon cables and connectors attaching the display, ensuring you don’t damage delicate pins. Remove any screws securing the screen or circuit boards, then gently lift out the display assembly. Keep track of screws and parts for reassembly. Take your time to prevent damage, and work in a clean, static-free environment. Proper handling of delicate components is essential to avoid damaging your display during disassembly. Additionally, consulting disassembly guides can provide valuable visual references to ensure a safe process. This process grants access to the display’s internal components, preparing you for cleaning, inspection, or modification. Being mindful of electronic safety precautions is crucial to prevent static or electrical damage during disassembly. Also, understanding component materials can be helpful if you plan to upgrade or replace parts with specific metals or coatings. Remember that understanding precious metals market trends can be useful if you consider upgrading or customizing your display with metallic components.
Cleaning and Inspecting Components
Before handling your display, it’s essential to clean and inspect each component carefully to guarantee they’re free of dust, dirt, or damage. Use a soft microfiber cloth to wipe the screen, avoiding harsh chemicals that could harm the surface. Check for cracks, scratches, or loose connections on the display and internal parts. Confirm all cables and connectors are intact and functioning properly. Look for signs of corrosion or wear, especially around soldered joints or ports. If you notice any damage, consider replacing or repairing those parts before proceeding. Proper cleaning and inspection prevent future issues and ensure your display functions smoothly in your smart mirror build. Taking these steps now saves time and helps maintain the quality of your finished project.
Selecting and Installing the Two-Way Mirror

Choosing the right two-way mirror is essential for achieving a clear, reflective display. You want glass over acrylic because it offers better reflection quality and durability. Visit local glass supply stores to find cost-effective options, guaranteeing the mirror matches your display size precisely. Measure carefully before purchasing to avoid gaps or mismatched edges. When installing, clean the glass thoroughly to remove dust and fingerprints, which can distort reflections. Position the mirror so that the reflective side faces outward, with the reflective coating on the back. Secure it to your frame or backing using mounting hardware, making sure it’s flush and stable. Proper installation ensures your smart mirror looks professional, with crisp reflections and minimal light distortion.
Assembling the Frame and Mounting Components
When assembling your smart mirror, start by choosing durable frame materials that match your aesthetic and support the display securely. Make certain to carefully secure all components using appropriate hardware like nuts, bolts, and spacers to ensure stability. Additionally, pay close attention to waterproofing techniques to protect your electronics from moisture and damage. Incorporating reliable electrical safety practices ensures your setup remains safe and functional over time. Proper navigation and mapping strategies can also help in aligning and securing components accurately, preventing misalignment or damage. To enhance overall safety, it’s important to also consider grounding methods that prevent electrical issues. Ensuring your setup adheres to seasonal maintenance best practices can further prolong the lifespan of your components. Finally, follow best practices for final assembly to keep everything aligned and functioning smoothly.
Choosing Frame Materials
Selecting the right frame materials is essential for ensuring your DIY smart mirror is both sturdy and visually appealing. You want a material that provides strong support for the display and mirror while complementing your decor. Wooden frames, like pine or plywood, are popular choices—they’re easy to cut, stain, or paint to match your style. Aluminum or metal strips add a modern touch and durability. For a lightweight option, foam core boards or acrylic borders work well, especially for frameless designs. Consider the environment where your mirror will sit; moisture-resistant materials are best for bathrooms. Ultimately, choose materials that balance strength, aesthetics, and ease of assembly to create a polished, high-quality finish. Incorporating smart design principles and sustainable and eco-friendly decor choices can also enhance your project if you prioritize environmentally conscious materials. Using environmentally sustainable materials supports eco-conscious living and aligns with a minimalistic lifestyle.
Securing Display Components
How do you securely attach the display components within your frame? Start by disassembling your display, removing the bezel and rear housing. Cut a piece of black cardboard or foam core to match the monitor’s face size, then mount the display onto it using duct tape or hot glue for a firm hold. Position the display and Raspberry Pi (if used) on the back mounting area. Use pre-drilled holes to insert nylon bolts, spacers, and nuts, ensuring everything stays aligned and stable. Double-check that all components are flush and securely fastened to prevent shifting during movement. This solid foundation ensures your display remains steady, protected, and ready for the final assembly stages.
Final Assembly Tips
To guarantee a secure and professional-looking smart mirror, carefully assemble the frame and mount your components with precision. Start by positioning the black card or cardboard cutout behind the display, ensuring it matches the monitor’s size perfectly. Attach the display to the black backing using duct tape or hot glue, keeping it flush and stable. Mount the Raspberry Pi and other electronics securely on the back, using nylon spacers and bolts through pre-drilled holes. Double-check that all wiring is neat and accessible. If you’re using a wooden or picture frame, fit the assembled display into it, securing with nails or brackets. Consider nanotechnology advancements that can improve electronic component miniaturization and stability. Finally, verify that everything is aligned, sturdy, and ready for installation on the wall or mounting surface. Proper assembly guarantees a sleek, durable smart mirror. A secure setup ensures your smart mirror remains stable and functional over time.
Setting Up the Software and Programming the Display
Ever wondered how to get your smart mirror displaying useful information seamlessly? First, install the Magic Mirror software on your Raspberry Pi or set up compatible apps on your tablet. Use terminal commands for Raspberry Pi or download the Magic Mirror Mini app for Android. Customize your modules—like weather, calendar, or news—by editing the configuration file or app settings. To make it easier, here’s a quick overview:
| Step | Action | Tip |
|---|---|---|
| 1 | Install software | Use official guides for accurate setup |
| 2 | Configure modules | Select what info you want displayed |
| 3 | Test display | Ensure brightness and placement are best |
This setup creates a clean, functional display ready for further customization.
Customizing Your Smart Mirror’s Features and Design
Customizing your smart mirror’s features and design allows you to create a personalized and functional display that suits your needs and style. You can add widgets like weather, calendar, news, or traffic updates to keep your information accessible at a glance. Adjust the layout and colors in your Magic Mirror configuration file to match your decor or mood. For a sleek look, opt for a frameless design or a custom-painted frame. You might incorporate voice commands or touch controls for easier interaction. Using different backgrounds or themes can also enhance the aesthetic appeal. Remember, the key is to balance functionality with visual harmony, ensuring your smart mirror not only provides useful data but also complements your space seamlessly.
Finalizing and Installing Your DIY Smart Mirror

Once you’ve assembled your smart mirror components, the next step is to carefully finalize and install it in your desired location. Start by securing all parts with the appropriate hardware—nuts, bolts, spacers, and fasteners—ensuring everything is firmly attached. Double-check that the display is properly aligned behind the two-way mirror and that the electronics are connected correctly. Clean the mirror surface for a clear reflection. Choose a suitable spot with stable power access, good visibility, and minimal glare. Mount the assembly securely on the wall using brackets or mounting hardware, making sure it’s level. Finally, power on your smart mirror, calibrate the display settings, and enjoy your high-tech, personalized reflection.
Frequently Asked Questions
Can I Use a Smartphone Instead of an Old Tablet for This Project?
Yes, you can use a smartphone instead of an old tablet for this project. You’ll need to disassemble the phone carefully, remove the display, and create a suitable housing with a black backing and two-way mirror. Keep in mind, phones are smaller, so you’ll need to adjust the frame and mounting setup accordingly. verify your phone’s display brightness is maximized for clear reflection and visibility through the mirror.
What Safety Precautions Should I Follow During Disassembly?
During disassembly, you should unplug the device to avoid electric shock. Wear safety glasses to protect your eyes from glass shards or small debris. Use appropriate tools like screwdrivers and pry tools carefully to prevent injury or damaging components. Work in a clean, well-lit area, and handle glass parts gently to avoid cuts. Keep small screws and parts organized to prevent losing any essential pieces.
How Do I Prevent Glare or Reflections on the Mirror Surface?
To prevent glare or reflections on your mirror surface, position the smart mirror away from direct light sources like windows or bright lamps. Use matte or anti-reflective two-way glass instead of glossy options to reduce light bounce. Adjust the brightness settings on your display to ideal levels, and consider adding a dimming feature. Painting surrounding surfaces with dark, matte colors also minimizes unwanted reflections and glare.
Is It Possible to Upgrade the Software After Initial Setup?
Think of your smart mirror as a garden that needs tending. Yes, you can upgrade the software after setting it up, like planting new seeds for fresh growth. You simply connect to the device, run update commands, or install new apps, nurturing your mirror’s intelligence. With each upgrade, it blossoms brighter, smarter, more personalized, ensuring your high-tech reflection continuously evolves, staying fresh and functional over time.
What Are the Best Ways to Hide Wiring and Electronics?
You can hide wiring and electronics by routing cables through the back of the frame or behind the mirror. Use cable clips or adhesive cable organizers to keep wires neat and secure along the edges. Conceal power supplies and Raspberry Pi inside the frame or behind the mirror using foam or fabric panels. Tuck excess cords into channels or hollow spaces to maintain a clean, streamlined appearance and prevent clutter.
Conclusion
With patience and persistence, your personalized smart mirror becomes a powerful, practical, and polished addition to your space. By blending basic building blocks with clever customization, you create a mesmerizing, convenient mirror that keeps you connected and organized. Remember, the key to a successful DIY project is dedication and detail. So, stay steadfast, showcase your skills, and enjoy the satisfaction of turning an old tablet into a high-tech, helpful highlight in your home.