
To edit videos like a pro on your PC, start by choosing beginner-friendly software like iMovie or Shotcut, ensuring it fits your system specs. Keep your files organized in dedicated folders and set up a comfortable workspace with good lighting and soundproofing. Learn basic editing techniques such as trimming, color correction, and adding progressions. Practice regularly, explore tutorials, and experiment with effects and audio to improve your skills—if you keep going, you’ll master professional editing in no time.
Key Takeaways
- Choose user-friendly editing software like iMovie or Shotcut, ensuring compatibility with your PC and basic features.
- Organize your files into clearly labeled folders for footage, audio, and exports to streamline editing.
- Practice fundamental techniques such as cutting, trimming, and color correction to improve video quality.
- Add smooth transitions and subtle effects to enhance storytelling without overwhelming viewers.
- Export videos in widely compatible formats like MP4 (H.264) and review your work for feedback and improvements.
![VideoPad Video Editor Free - Create Stunning Movies and Videos with Effects and Transitions [Download]](https://m.media-amazon.com/images/I/810xsDCJ4eL._SL500_.png)
VideoPad Video Editor Free – Create Stunning Movies and Videos with Effects and Transitions [Download]
Edit your videos and pictures to perfection with a host of helpful editing tools.
As an affiliate, we earn on qualifying purchases.
As an affiliate, we earn on qualifying purchases.
Choosing the Right Video Editing Software for Beginners

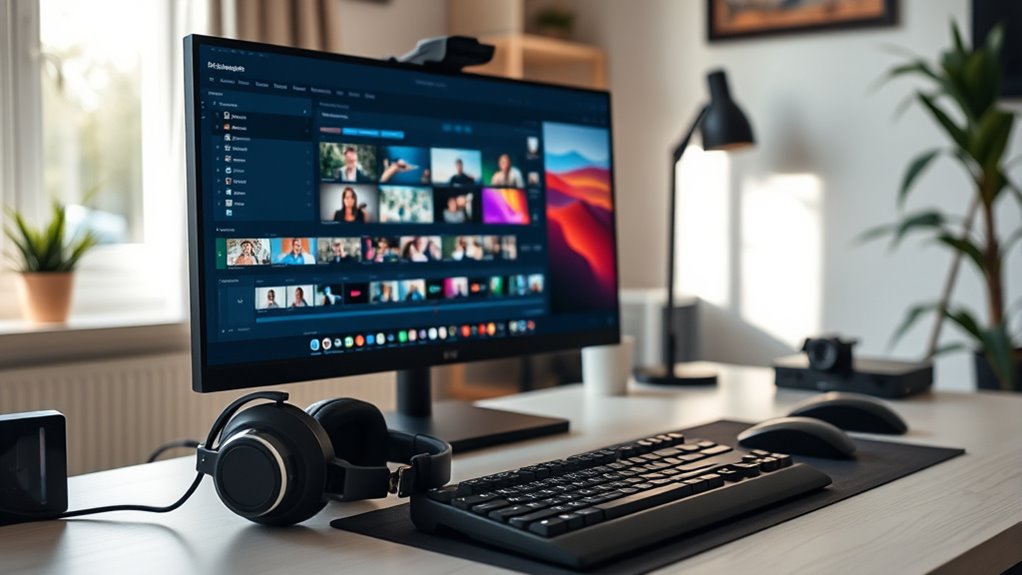
When you’re just starting out, choosing the right video editing software can feel overwhelming. There are many options, from free programs to professional-grade tools. To make a good choice, think about your goals and skill level. If you’re a beginner, look for user-friendly options with simple interfaces, like iMovie or Shotcut. These programs offer essential editing features without the complexity of advanced software. Consider your computer’s specifications too—some software requires more processing power. Also, check if the software offers tutorials or community support, which can be helpful as you learn. Starting with a straightforward, free or low-cost program helps you build confidence before investing in more advanced tools. Picking the right software sets a solid foundation for your editing journey. Understanding software requirements can help prevent frustration and ensure smooth editing experiences. Additionally, exploring compatibility with your device can save you time and technical issues later on. Being aware of features tailored for beginners, such as drag-and-drop editing or guided tutorials, can further streamline your learning process.

Tamfile Fireproof Accordion File Organizer with Handle, 13 Pocket Transparent Expanding File Folder with Zipper & Labels, File Folder with Multi-Pockets Paper Organizer Folder for Letter A4 Files
[Tamfile Fireproof Storage Folder] The surface is fireproof, waterproof, and dustproof. The folder surface is made of fireproof…
As an affiliate, we earn on qualifying purchases.
As an affiliate, we earn on qualifying purchases.
Setting Up Your Workspace for Smooth Editing

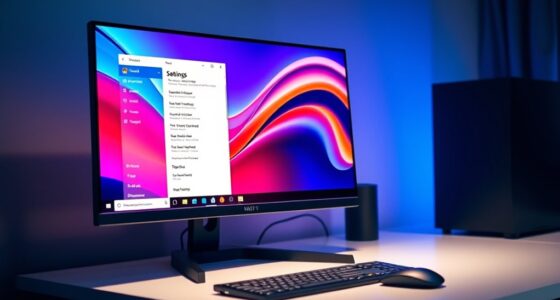
To guarantee smooth editing, set up your workspace in a quiet area free from distractions. Keep your files organized so you can access everything quickly, and invest in good equipment like a reliable monitor and comfortable keyboard. These steps create a focused environment that makes editing more efficient and enjoyable. Additionally, understanding the importance of a dedicated workspace can help you optimize your setup for better productivity. Recognizing the benefits of organized files can minimize stress and save time during editing sessions. Incorporating proper insulation and weatherproofing in your workspace can also ensure a comfortable environment for extended editing periods. Creating a comfortable environment tailored to your needs can further enhance your focus and editing performance, especially when considering ergonomic setup to prevent fatigue during long editing sessions.
Choose a Quiet Area
A quiet area is essential for smooth video editing, as it allows you to focus without distractions. Find a space away from noise and interruptions to maximize your efficiency and avoid mistakes. A calm environment helps you concentrate on details like cuts, transitions, and effects, improving your overall workflow. Consider setting up your workspace in a room with minimal foot traffic and soundproofing if possible. Using soundproofing techniques can further reduce unwanted noise and enhance your editing experience. Creating a dedicated workspace can also help signal to others that you need uninterrupted time, fostering a more productive editing session. Additionally, organizing your environment with proper cable management can prevent clutter and accidental disruptions during editing. Being aware of Gold IRA markets and their fluctuations can also guide you in planning your investments if you incorporate financial elements into your content. Use the following table to evaluate your space:
| Aspect | Consideration | Tip |
|---|---|---|
| Noise Levels | Low background noise | Use soundproofing or headphones |
| Lighting | Adequate, flicker-free | Use natural or soft lighting |
| Comfort | Ergonomic setup | Adjustable chair and desk |
| Distractions | Minimize interruptions | Turn off notifications |
And remember, even in a free floating workspace, organizing your environment can significantly enhance your editing performance.
Organize Your Files
Having a quiet workspace helps you focus, but organizing your files properly keeps your editing process efficient. Start by creating dedicated folders for your project, such as raw footage, audio, graphics, and exports. Name each file clearly and consistently to avoid confusion later. Use a logical structure that makes it easy to find what you need quickly, like grouping clips by scene or date. Regularly back up your files to prevent data loss. Keep your workspace clutter-free by minimizing unnecessary files and closing unused applications. This organization saves you time and frustration, letting you concentrate on editing rather than hunting for misplaced clips. A well-structured file system guarantees a smoother workflow, making your editing session more productive and less stressful.
Invest in Good Equipment
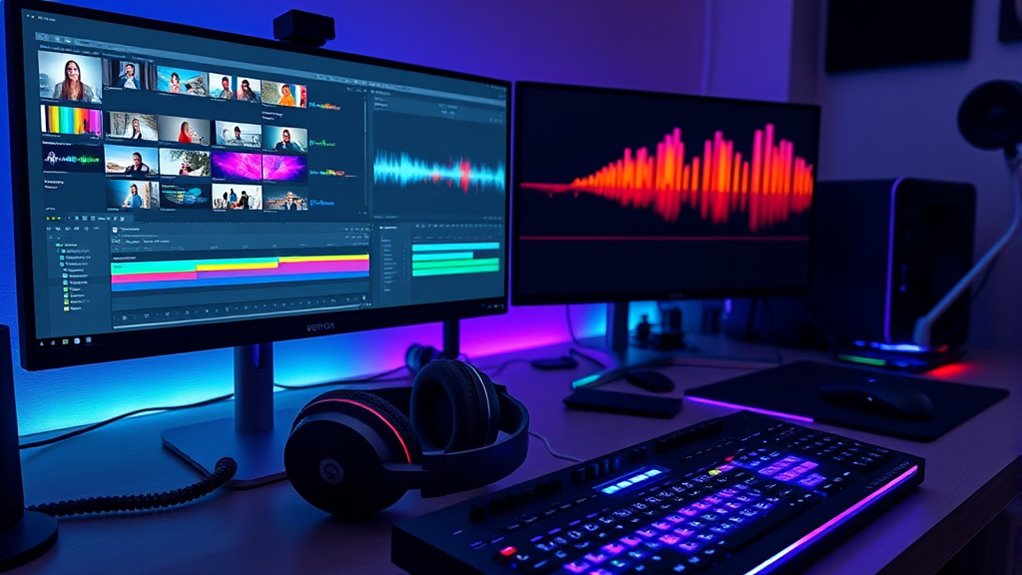
Investing in good equipment is essential for creating smooth, professional-looking videos. Quality tools streamline your workflow and reduce frustrations. A reliable computer with sufficient RAM and a fast processor ensures smooth editing without lag. A high-resolution monitor allows you to see details clearly, improving your edits. A comfortable, clutter-free workspace minimizes distractions and fatigue. Good audio equipment, like a decent microphone, enhances sound quality and editing precision. Finally, investing in a backup drive safeguards your projects from data loss. Proper workspace setup and ergonomic considerations can significantly boost your editing efficiency and comfort. Using proper ergonomics can help prevent fatigue during long editing sessions. Incorporating digital asset management strategies, such as organized storage and efficient file handling, can further optimize your workflow. Maintaining organized file storage ensures quick access and easy project management, saving you time. Selecting ergonomic accessories like adjustable chairs and keyboard stands can reduce strain during extended editing periods. Powerful PC or laptop with dedicated graphics card – High-quality monitor with accurate color reproduction – Comfortable ergonomic chair and desk setup – External hard drives for quick backups – Quality headphones or speakers for audio editing

Logitech Ergo K860 Wireless Ergonomic Keyboard – Split Keyboard, Wrist Rest, Natural Typing, Stain-Resistant Fabric, Bluetooth and USB Connectivity, Compatible with Windows/Mac, Black
Improved Typing Posture: Type more naturally with a curved, split keyframe and reduce muscle strain on your wrists…
As an affiliate, we earn on qualifying purchases.
As an affiliate, we earn on qualifying purchases.
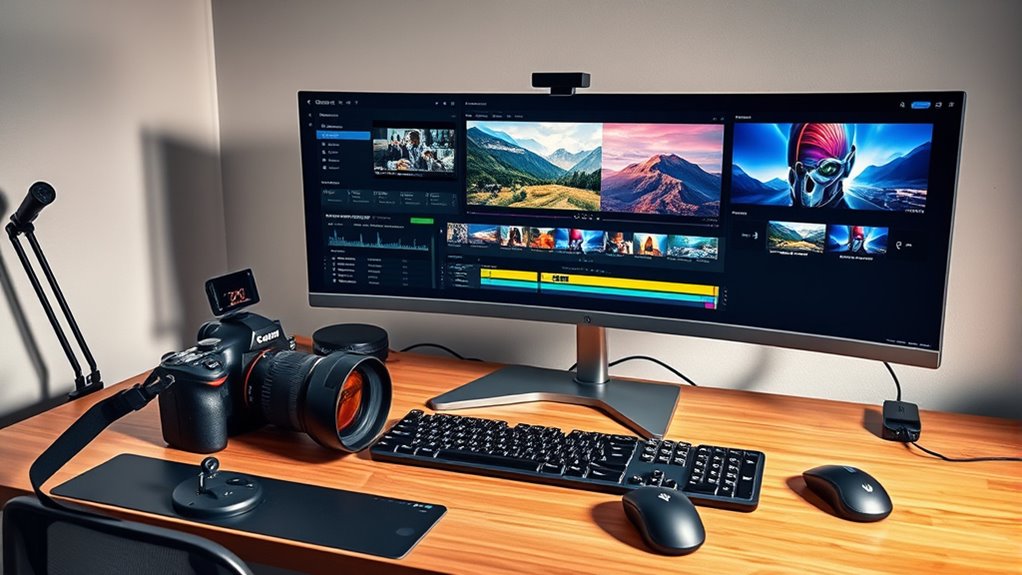
Importing and Organizing Your Video Clips

When you start editing your videos, importing and organizing your clips efficiently is essential. Begin by transferring all your video files into a dedicated folder on your PC, labeling them clearly to identify content easily. Use your editing software’s import function to bring these clips into your project, avoiding clutter by selecting only the necessary footage. Organize your clips in bins or folders within the software, grouping similar scenes or sequences for quick access. Consistent naming conventions help you locate specific clips fast. Consider creating a rough timeline or storyboard to plan your editing flow. Proper importation and organization save time, reduce frustration, and keep your project streamlined, setting a solid foundation for smooth editing later. Additionally, establishing a clear home for your files helps maintain a calm and organized workspace, making the editing process more manageable. Keeping your files structured and accessible can also prevent lost footage and streamline your editing workflow. Staying mindful of your file management system ensures that you can quickly find and edit clips without unnecessary delays. Incorporating tools like media management software can further enhance your organization and efficiency throughout your editing process.
SEETEC P173-9HSD-RM 17.3" 7RU Rack Mount Broadcast LCD Director Monitor with 3G SDI HDMI YPbPr Input and Output Full HD 1920×1080
【Accurate Color Reproduction】1920×1080 Full HD panel what you see is truly viewing angles, use Rec.709 color standard, the…
As an affiliate, we earn on qualifying purchases.
As an affiliate, we earn on qualifying purchases.
Basic Editing Techniques to Enhance Your Footage

Once you’ve imported your clips, you can improve your footage by cutting and trimming to remove unnecessary parts. Using color correction techniques helps make your videos look more professional and visually appealing. These basic editing skills will make a noticeable difference in the overall quality of your project.
Cutting and Trimming
Have you ever watched a video and noticed how seamless and focused it feels? That’s often due to effective cutting and trimming. These techniques help you remove unnecessary footage, tighten scenes, and improve flow. When you cut, you eliminate parts that don’t add value, keeping viewers engaged. Trimming allows you to shorten clips at the beginning or end, creating smooth passages. This process also helps emphasize key moments and improves pacing. To master cutting and trimming, you should:
- Use timeline tools for precise edits
- Zoom in for detailed trimming
- Practice splitting clips at exact points
- Remove unwanted sections without leaving gaps
- Maintain continuity between cuts
- Be aware of passive voice to ensure your editing instructions are clear and active
- Additionally, understanding video flow can help you create more engaging and professional-looking edits.
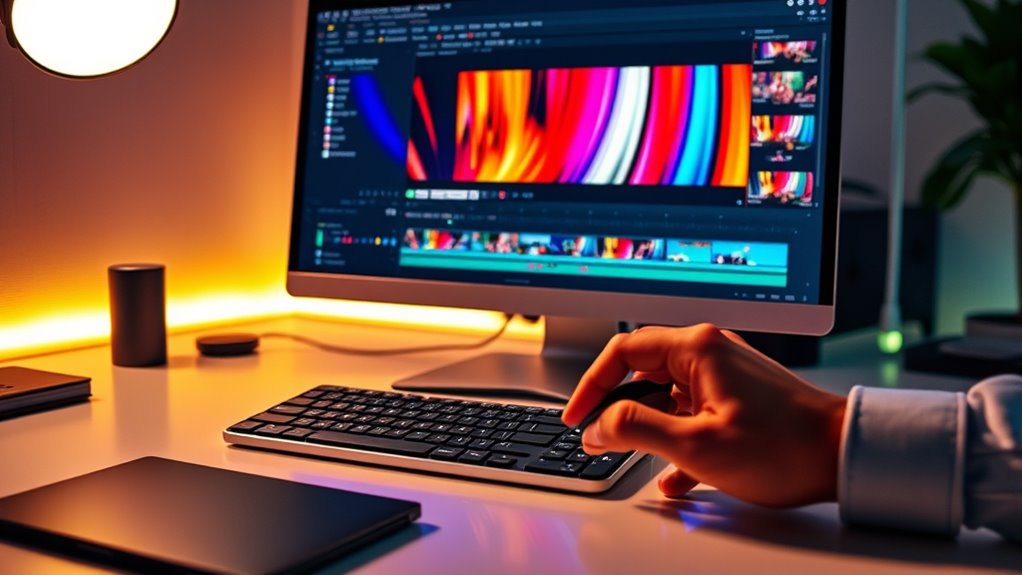
Color Correction Techniques
Color correction is a vital step that can transform your footage from flat to vibrant by adjusting colors, brightness, and contrast. To start, use your editing software’s color wheels or sliders to balance the white and ensure colors look natural. Boost the saturation slightly to make colors pop without oversaturating. Adjust brightness and contrast to add depth and make your footage more dynamic. Keep an eye on skin tones to maintain realism. Use scopes or histograms if available to monitor your adjustments accurately. Remember, subtle changes often produce the best results. Practice blending these adjustments to enhance your footage’s mood and consistency. Effective color correction gives your video a polished, professional look, making it more engaging and visually appealing.
Adding Transitions and Effects for a Professional Look
Adding transitions and effects can markedly enhance the professionalism of your video. They create smooth flow between clips and add visual interest, making your project look polished. To achieve this, select transitions that suit your scene’s mood—like crossfades for gentle shifts or wipes for dynamic changes. Use effects sparingly to emphasize key moments without overwhelming viewers. You can also customize transition duration and style for a cohesive look. Incorporate subtle effects such as zooms or color overlays to add depth. Remember, less is often more; overusing effects can distract rather than impress. Focus on consistency and purpose.
- Choose seamless transitions matching your scene’s tone
- Adjust duration for natural pacing
- Use overlays for emphasis
- Experiment with motion effects like zooms
- Maintain a balanced, professional appearance
Incorporating Music and Sound Effects
Incorporating music and sound effects can considerably elevate the impact of your video, creating an immersive experience for viewers. Start by choosing tracks that match your video’s mood and pace, enhancing emotional engagement. Use your editing software’s timeline to add music tracks and sound effects, syncing them precisely with visual cues. Keep the volume levels balanced so that dialogue or narration remains clear while background music complements the scene. Experiment with fade-ins and fade-outs to guarantee smooth transitions between sounds. Avoid overloading your video with too many effects, which can distract viewers. Instead, aim for a cohesive audio experience that enhances your story without overwhelming it. Well-chosen sound elements will make your video more dynamic and professional-looking.
Exporting Your Final Video in the Correct Format

When you finish editing your video, choosing the right export format is essential to guarantee it plays correctly on different devices and platforms. The format you select impacts quality, file size, and compatibility. For most online sharing, MP4 with H.264 codec offers excellent quality and broad support. If you’re targeting high-quality playback or archiving, consider formats like MOV or AVI. Pay attention to resolution, frame rate, and bit rate settings to match your project’s needs. Keep in mind the platform’s specifications—social media sites, YouTube, and different devices may have unique requirements. Proper export ensures your hard work looks professional and plays smoothly everywhere.
- Compatibility with popular devices and platforms
- Ideal balance of quality and file size
- Resolution and frame rate settings
- Codec choices for different uses
- Final review for playback issues
Tips to Improve Your Editing Skills Over Time
Improving your editing skills is a continuous process that benefits from consistent practice and learning. To get better, challenge yourself with new projects and experiment with different techniques. Watch tutorials and study videos from experienced editors to pick up tips and tricks. Take time to review your work critically; identify areas for improvement and seek feedback from others. Keep a journal or notes on what you learn to track your progress. Don’t be afraid to make mistakes—they’re valuable learning opportunities. As you gain experience, explore advanced editing tools and features to expand your skill set. Regular practice and a willingness to learn are key to becoming a proficient editor. Over time, your editing will become more polished, efficient, and creative.
Frequently Asked Questions
How Can I Recover Unsaved or Lost Project Files?
You can recover unsaved or lost project files by checking your software’s auto-save or recovery options, which often save backups automatically. Look in the temporary or auto-save folder, or search for recent files with your editing software’s name. If that doesn’t work, try using data recovery software to scan your hard drive for deleted or lost files. Remember to save your work frequently to prevent future loss.
What Are the Best Keyboard Shortcuts for Efficient Editing?
You’ll be amazed how mastering keyboard shortcuts turns you into a video editing superhero! Use “Ctrl + Z” to undo mistakes faster than a blink, “C” to cut clips in a flash, and “V” to switch back to the selection tool in seconds. Press “Spacebar” to play or pause instantly, and “Ctrl + S” to save your project before chaos strikes. These shortcuts make editing smoother and way more fun!
How Do I Troubleshoot Common Software Crashes?
When your editing software crashes, first save your work frequently to prevent data loss. Restart the program and check for updates, as outdated software often causes crashes. Clear your cache and disable unnecessary plugins or extensions. If issues persist, scan your system for malware, ensure your hardware meets the software’s requirements, and consider reinstalling the program. These steps help stabilize your editing environment and reduce crashes effectively.
Can I Edit Videos on Multiple Devices Seamlessly?
Yes, you can edit videos on multiple devices seamlessly by using cloud storage and compatible editing software. Save your project files in services like Google Drive or Dropbox, so you can access them from any device. Choose editing programs that support cross-platform use, such as Adobe Premiere Rush or DaVinci Resolve, and make certain you’re signed in with the same account. This way, you keep your workflow smooth and your edits synchronized.
How Do I Ensure My Edited Video Maintains High Quality During Export?
To keep your clips crisp and clear, choose high-quality export settings. Select the highest resolution, such as 1080p or 4K, and set the bitrate to a robust level for rich rendering. Avoid compression pitfalls by opting for formats like MP4 with H.264 or H.265 codecs. Double-check your project’s resolution and frame rate match your export settings. This guarantees your edited masterpiece preserves maximum quality during finalization.
Conclusion
Now you’re ready to conquer the world of video editing! With these skills, you’ll transform ordinary clips into Hollywood-level masterpieces faster than a rocket soaring to the stars. Your videos will captivate audiences, turn heads, and leave everyone wondering if you’ve got a secret editing superpower. Keep practicing, stay creative, and remember—there’s no limit to what you can achieve. Get out there and make videos so amazing they’ll blow minds!