
To set up smart lighting, first choose suitable devices like smart bulbs, switches, or dimmers based on your needs. Turn off power and install your devices safely, following manufacturer instructions. Connect them to your Wi-Fi using their app and assign clear names. Customize controls and create automations to suit your lifestyle. For easier management and enhanced features, consider adding a smart hub. Keep exploring to discover all tips for optimizing your smart lighting system.
Key Takeaways
- Evaluate your lighting needs and select compatible smart bulbs, switches, or dimmers suitable for your home setup.
- Turn off power at the circuit breaker before installing or replacing switches and fixtures safely.
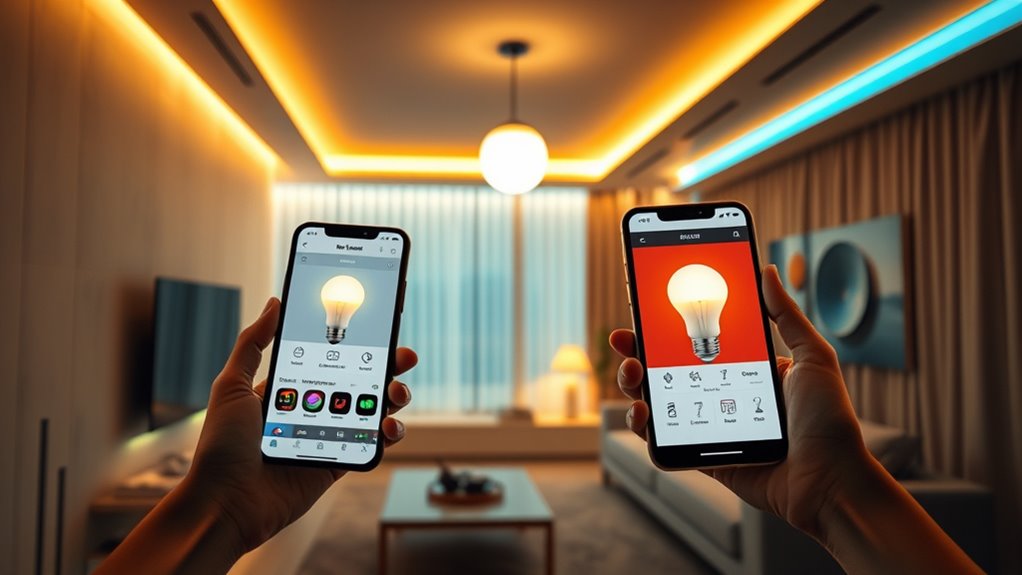
- Connect devices to Wi-Fi using the manufacturer’s app, following pairing instructions and assigning clear device names.
- Organize devices within a smart hub or app, assigning rooms or zones for easier control and automation setup.
- Integrate voice assistants, create automation routines, and optimize device placement for energy efficiency and convenience.
Choosing the Right Smart Lighting Devices for Your Home
Choosing the right smart lighting devices for your home begins with evaluating your specific needs and preferences. Think about which areas you want to enhance, whether it’s energy savings, ambiance, or convenience. If you prefer adjustable brightness and color, smart bulbs are a great choice—they fit standard sockets and can be controlled remotely or via apps. For wall-mounted control, smart switches replace traditional switches, offering seamless control and integration with automation. Dimmers are ideal if you want customizable light levels, especially for living rooms or bedrooms. Consider adding smart hubs if you plan to connect multiple devices for centralized control. Additionally, understanding Youngster Choice can help you select devices that align with your lifestyle and automation goals. Leveraging European cloud solutions can also ensure your smart home devices operate securely and efficiently with reliable connectivity. Incorporating lighting automation can further enhance convenience and energy efficiency by scheduling and syncing your lights with daily routines. Integrating sustainable lighting options, such as those made with eco-friendly materials, can help reduce your environmental footprint while maintaining high quality and durability. Smart sockets or plugs can turn existing lamps into smart lighting fixtures, providing flexibility without major rewiring.
Preparing for Installation: Safety and Planning Tips
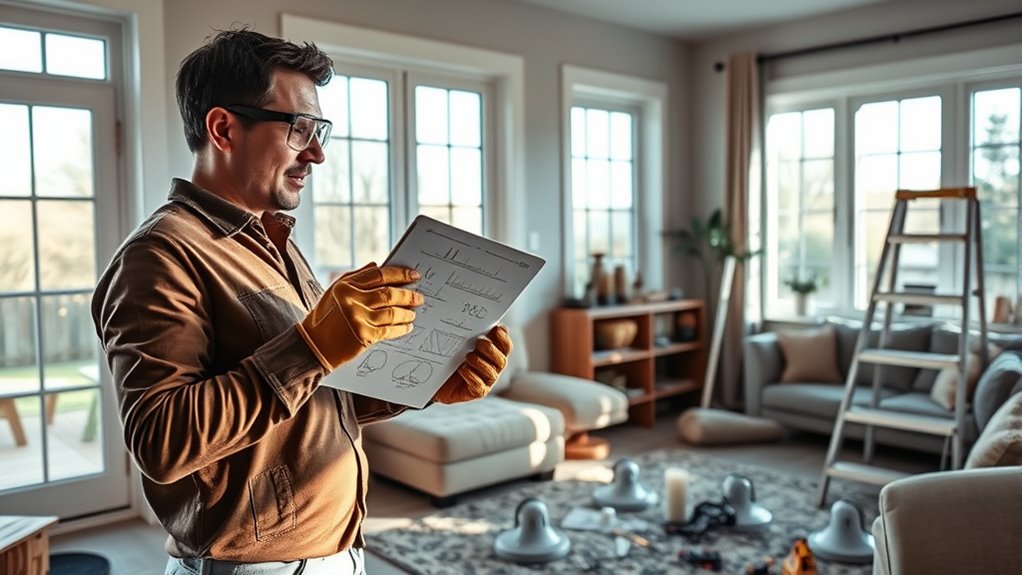
Before starting your smart lighting installation, it is vital to prioritize safety and proper planning. Turn off the power at the circuit breaker to avoid electrical shocks, especially when working with switches or wiring. Make a clear plan of where you’ll install devices, considering wiring, access, and control options. Check that your existing wiring and outlets are compatible with smart devices. Gather all necessary tools and resources beforehand. Label wires if needed to prevent confusion during installation. Confirm your Wi-Fi network is stable and has sufficient coverage in the installation areas. Keep a flashlight handy in case lighting is poor. Finally, review the manufacturer’s instructions thoroughly to understand device requirements and avoid mistakes, guaranteeing a smooth, safe setup process. Additionally, understanding affiliate disclosure and privacy considerations can help ensure your smart lighting system aligns with your privacy preferences. It’s also helpful to consult electrical codes to ensure your installation complies with local safety regulations.
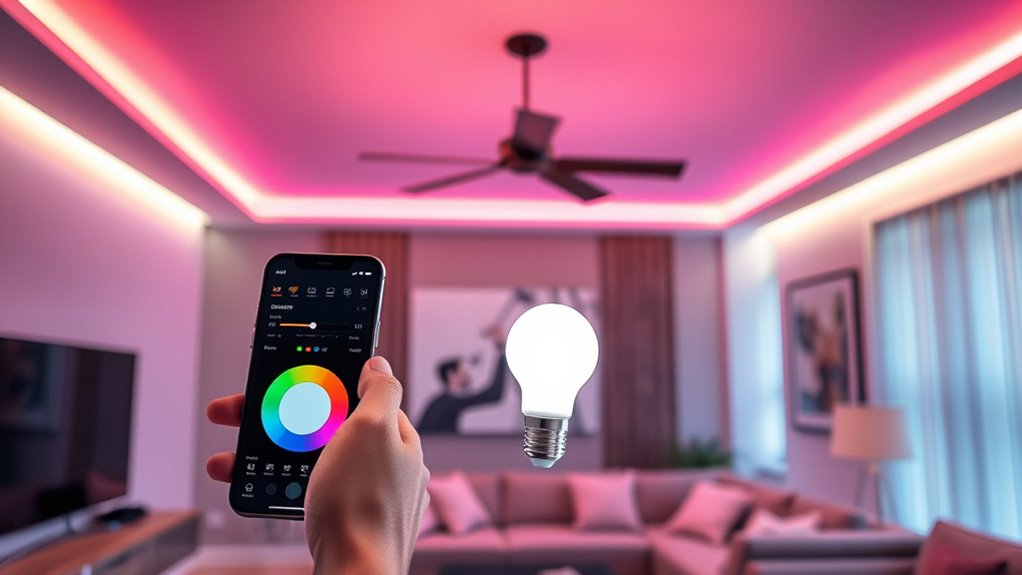
Installing Smart Bulbs and Connecting to Wi-Fi
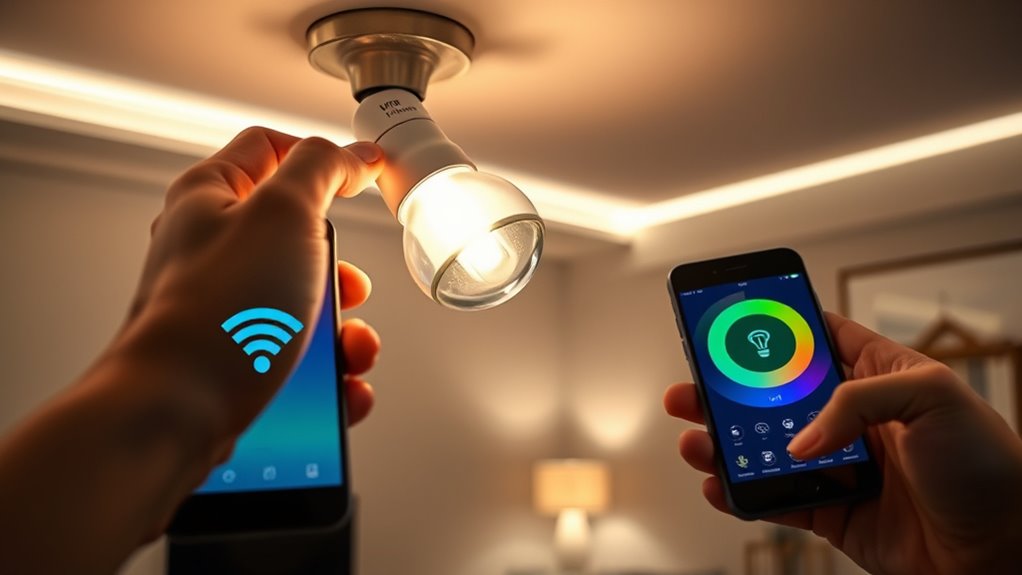
Are you ready to install your smart bulbs and connect them to Wi-Fi? First, turn off the power at the switch or circuit breaker. Unscrew your existing bulb and screw in the smart bulb securely. Turn the power back on and switch on the light. Download the manufacturer’s app on your smartphone and create an account if needed. Open the app and follow the instructions to connect the smart bulb to your Wi-Fi network. Make sure your phone is connected to the same Wi-Fi network you want the bulb to use. The app will guide you through pairing the bulb with your network. Once connected, you can control your smart bulb remotely and customize its settings directly from the app. Additionally, ensure your Wi-Fi network has a strong signal to maintain reliable local automation and seamless control. To ensure consistent operation, consider optimizing your Wi-Fi coverage with mesh network systems or Wi-Fi extenders. Also, choosing a dedicated smart home hub can enhance the stability and integration of your smart lighting system.
Replacing Traditional Switches With Smart Switches
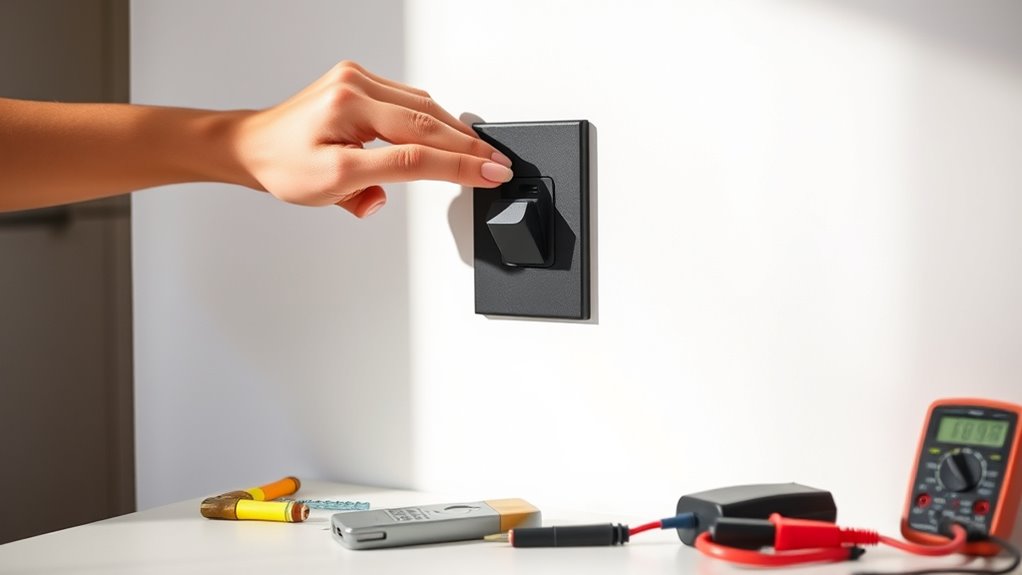
Replacing traditional wall switches with smart switches is a straightforward way to upgrade your lighting control. First, turn off the power at your circuit breaker to guarantee safety. Remove the switch faceplate, then disconnect the wires from the old switch. Connect the wires to the smart switch’s terminals, following the manufacturer’s instructions, typically using wire nuts. Mount the smart switch into the wall box and secure it properly. Turn the power back on and use the associated app to complete the setup. The app guides you through connecting the smart switch to your Wi-Fi network. Once connected, you can control your lights remotely, set schedules, or integrate the switch with your home automation system. This upgrade offers enhanced convenience and control over your lighting. Understanding electrical wiring safety is essential to ensure a secure and successful installation. When handling electrical components, always ensure you follow proper safety procedures to prevent accidents. Additionally, familiarizing yourself with load calculations can help ensure your smart switch is compatible with your existing wiring and electrical system. Being aware of the importance of professional installation can also prevent potential issues and ensure compliance with local electrical codes. Also, being aware of the compatibility of smart switches with your home’s wiring and devices can prevent installation issues.
Setting Up a Smart Hub and Adding Devices

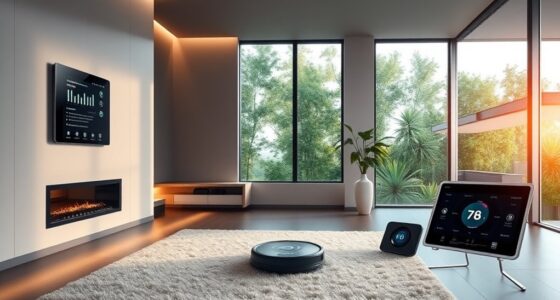
To get your smart lighting system running smoothly, start by connecting your smart hub to your network and power source. Once it’s set up, you can easily add your smart devices through the hub’s app. This centralized approach makes controlling and automating your lights simple and efficient. Electrical safety principles are essential to ensure a secure installation and operation of your smart home system. Additionally, understanding device compatibility can help prevent issues with unresponsive or malfunctioning smart lights. Ensuring proper network infrastructure can also improve the reliability and responsiveness of your smart lighting system, just as selecting the right best smart home devices can enhance your overall experience. Proper device maintenance is also crucial for longevity and performance of your smart lighting setup.
Connecting the Hub
Connecting the hub is a crucial step in setting up your smart lighting system, as it acts as the central controller for all devices. First, plug the hub into a power outlet and connect it to your router with an Ethernet cable. Download the hub’s app and create an account. Follow the app prompts to connect the hub to your Wi-Fi network. Once connected, you can easily add your smart bulbs, switches, or other devices through the same app. To keep things organized, assign devices to rooms or functions. Here’s a quick overview:
| Step | Action | Tips |
|---|---|---|
| Power & Connect | Plug in hub, connect to Wi-Fi via app | Use Ethernet for stability |
| Create Account | Download app, sign up | Secure your login |
| Connect Devices | Add devices in app, assign rooms | Name devices clearly |
| Organize | Group devices for easy control | Streamline management |
Additionally, ensuring your system remains secure and reliable is important for seamless operation.
Adding Smart Devices
Once your hub is set up and connected to your network, you can start adding smart devices to create a seamless lighting system. Open the hub’s app and follow the prompts to pair new devices. For smart bulbs, make sure they’re installed correctly and powered on; the app will detect them automatically. If adding switches or dimmers, put them into pairing mode as instructed in the app. Assign devices to specific rooms or zones for easy control. Confirm each device’s connection, and customize settings like brightness, color, or schedules. Organizing your devices now simplifies automation later. Keep your app updated and check device compatibility to avoid issues. Remember that integrating connected home fitness devices can enhance your overall wellness environment. Using a smart hub ensures centralized control and better integration of all your smart devices. With everything linked, you’re ready to control your lighting effortlessly through the app or voice commands. Establishing a home automation system allows for more advanced scheduling and scene creation, making your space smarter and more responsive.
Configuring Control Options and Automation Features

Once you’ve installed your devices, it’s time to set up control options and automation features. You can manage your lights through apps, enable voice commands, or create automation rules for convenience. These options help you customize your lighting to fit your routines and preferences seamlessly. Incorporating smart gear into your setup can enhance safety and adaptability, especially when integrated with outdoor or emergency preparedness tools.
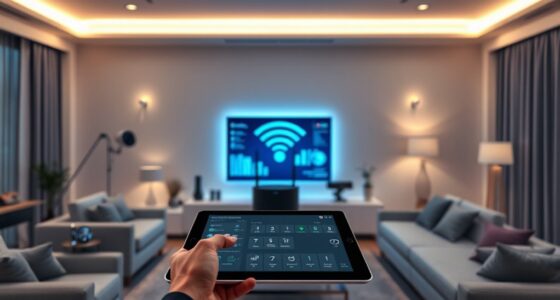
Using App Controls
How can you make the most of your smart lighting system? The key is mastering the app controls. Open your smart lighting app and familiarize yourself with the dashboard. From there, you can turn lights on or off remotely, adjust brightness, and change colors if your bulbs support it. Explore automation features, like setting schedules so lights turn on at sunset or off when you leave home. Create scenes to activate multiple lights with a single tap, perfect for movie nights or parties. Use geofencing options to automate lighting based on your location. Adjust individual device settings for ideal comfort and efficiency. Regularly update the app to access new features and improvements. With these controls, you’ll maximize convenience and energy savings in your home.
Enabling Voice Commands
Enabling voice commands for your smart lighting system adds a hands-free way to control your home’s lighting. First, verify your smart bulbs or switches are connected to your Wi-Fi network and linked to your chosen voice assistant, like Google Assistant or Apple Siri. Open the voice assistant’s app and navigate to the device or service setup section. Follow the prompts to link your smart lighting system, which typically involves signing into your account and granting necessary permissions. Once linked, test the setup by giving voice commands such as “Turn on the living room lights” or “Dim the bedroom lights.” This integration makes controlling your lighting more convenient and seamless, allowing you to manage your home effortlessly through simple voice prompts.
Setting Automation Rules
Setting automation rules allows you to customize your smart lighting system to operate automatically based on your routines and preferences. You can schedule lights to turn on or off at specific times, such as waking up or going to bed. Using motion sensors, you can set lights to activate when you enter a room and turn off when you leave, saving energy. Grouping lights into scenes lets you control multiple fixtures with a single command, creating the perfect ambiance. Most apps let you create rules based on conditions like sunrise, sunset, or occupancy. You can also combine these rules with voice commands or app controls for seamless automation. Fine-tuning these settings guarantees your lighting adapts effortlessly to your daily habits.
Tips for Optimizing Energy Efficiency and Performance

To maximize energy efficiency and enhance performance, optimizing your smart lighting setup is vital. First, accurately set your device locations so schedules align with sunrise and sunset times. Pair lights with motion sensors to reduce unnecessary usage. Use energy monitoring apps to track consumption and identify areas to improve. Regularly test and fine-tune brightness and color settings for comfort and efficiency. Additionally, program lights to dim after midnight, saving energy and increasing safety.
| Tip | Benefit | Action |
|---|---|---|
| Set precise location data | Better scheduling and automation | Adjust location settings in app |
| Install motion sensors | Reduced energy waste | Add sensors in high-traffic areas |
| Use energy monitoring | Track and optimize power use | Connect devices to monitoring apps |
| Schedule dimming after midnight | Save energy, improve safety | Create automation rules in app |
Frequently Asked Questions
How Do I Reset My Smart Lighting Devices if They Stop Responding?
If your smart lighting devices stop responding, you should start by resetting them. Usually, this involves turning the smart bulb off and on several times or pressing and holding the reset button on the device. For switches or hubs, follow the manufacturer’s specific reset instructions, often found in the app or user manual. After resetting, reconnect the device to your network and reconfigure it through the app to restore proper functionality.
Can I Use Smart Lighting With Existing Home Automation Systems?
Yes, you can use smart lighting with your existing home automation systems. Imagine seamlessly integrating your lights with your security or voice assistants, creating a smarter, more responsive home. Most smart bulbs, switches, and hubs support popular platforms like Google Assistant, Apple Siri, or Amazon Alexa. Just verify compatibility, follow the setup instructions, and connect your devices through your automation platform’s app. Soon, your home responds effortlessly to your commands.
What Should I Do if My Smart Bulb Won’T Connect to Wi-Fi?
If your smart bulb won’t connect to Wi-Fi, first check that your Wi-Fi network is working properly and that your bulb is within range. Restart your router and the bulb, then verify you’re using the correct Wi-Fi credentials in the app. Make sure your phone’s Wi-Fi is turned on and connected to the same network. If issues persist, reset the bulb to factory settings and try reconnecting.
Are Smart Switches Compatible With All Types of Light Fixtures?
Smart switches are compatible with most standard light fixtures, including single-pole and multi-way setups. However, you should check the switch’s specifications to guarantee it supports your fixture type, especially if you have specialized wiring or fixtures like chandeliers or fans. If unsure, consult the manufacturer’s guidelines or a professional electrician. Compatibility varies, so verifying your setup beforehand helps prevent installation issues or damage.
How Secure Are My Smart Lighting Devices From Hacking?
Your smart lighting devices are like digital castles—robust but not invincible. They’re fairly secure if you use strong, unique passwords, keep firmware updated, and enable two-factor authentication. Avoid default settings and public Wi-Fi, which are open gates for hackers. Regularly monitor device activity and disconnect unused devices. Think of it as safeguarding your castle with sturdy locks—you’re in control of your digital defenses.
Conclusion
Think of your smart lighting system as a vibrant garden. With each device you install and configure, you’re planting seeds that blossom into a beautifully lit landscape. Proper planning and thoughtful setup help your lights flourish, creating a cozy, energy-efficient oasis. As you nurture this digital garden, your home becomes a harmonious space where convenience and ambiance grow together — all under your careful watch, transforming everyday lighting into a shining masterpiece.