To start a podcast with just your phone and laptop, focus on the basics: use your phone’s built-in microphone or an external one for better sound, and record on your laptop using free or paid software like Audacity or GarageBand. Make sure you’re in a quiet space and organize your equipment on a stable surface. With simple steps, you’ll set up a portable studio. Keep going to find out how to make your audio sound professional and engaging.
Key Takeaways
- Use your smartphone’s built-in microphone or an external USB mic for higher audio quality.
- Choose free recording software like Audacity or GarageBand on your laptop for editing.
- Record in a quiet space with soft furnishings to minimize background noise and echo.
- Connect your microphone to your laptop via USB and position it close to your mouth for clear sound.
- Export your episodes in MP3 format, upload to hosting platforms, and promote your podcast online.
Essential Equipment for Beginner Podcasters
Getting started with podcasting doesn’t require a lot of fancy gear—just the essentials. Your smartphone or laptop with a decent built-in microphone can handle initial recordings. For better sound quality, consider an external USB microphone; they’re affordable and easy to set up, providing clearer audio and reducing background noise. Headphones are crucial for real-time monitoring and editing, helping you catch issues early. You’ll also need recording software like Audacity or Adobe Audition to capture and shape your audio. Make sure your device has enough storage space, as audio files can quickly fill up your memory. While high-end equipment isn’t necessary at first, investing in sound quality microphones and headphones can make a noticeable difference in your podcast’s sound. High-quality audio improves overall content and keeps listeners engaged. Keep it simple, and focus on your content. Additionally, understanding home and small-shop power safety practices can help you set up your recording space securely without risking electrical issues. Being aware of electrical safety considerations can prevent potential hazards while configuring your equipment. Also, choosing a quiet recording environment can significantly enhance your audio clarity and listener experience.
Leveraging Your Smartphone’s Recording Capabilities

Your smartphone’s built-in microphone can be surprisingly capable for podcasting, especially when you’re just starting out. Many smartphones have decent microphones that can capture clear audio if you’re close enough. To improve quality, consider downloading voice recording apps that offer noise reduction and editing features. While built-in mics work well in quiet environments, external microphones can boost sound quality considerably. Connecting a USB microphone with the right adapter allows for higher fidelity recordings on your phone. Keep in mind, your phone’s portability means you can record anywhere, making spontaneity easy. Here’s a quick comparison to help you understand your options:
| Microphone Type | Pros | Cons |
|---|---|---|
| Built-in | Convenient, no extra gear | Less quality, background noise |
| External USB | Better sound, flexible | Needs adapter, slightly bulkier |
| Lavalier | Portable, discreet | Limited range |
Choosing the Right Laptop for Podcasting

Choosing the right laptop for podcasting starts with understanding your processing needs and portability preferences. If you plan to record and edit on the go, a lightweight model with good battery life is essential. For more intensive editing, opt for a laptop with a fast processor and ample RAM. Confirm it has enough storage for multiple audio files. Consider connectivity options like USB ports for microphones and headphones. A high-resolution display helps with editing precision. Also, look for reliable Wi-Fi for remote interviews and file transfers. Here’s what to keep in mind: The Evolution of Arcade Games Lightweight and portable for mobility, fast processor (at least quad-core), sufficient RAM (8GB or more), multiple USB and audio ports. Ensuring your laptop has the right software compatibility is crucial for seamless editing and recording workflows. Additionally, choosing a device that supports energy-efficient components can help extend battery life during long recording sessions. Incorporating a durable battery that maintains performance over extended periods can further enhance your mobile podcasting experience. To further support your podcasting setup, consider opting for a device with expandable storage options to accommodate growing audio libraries.
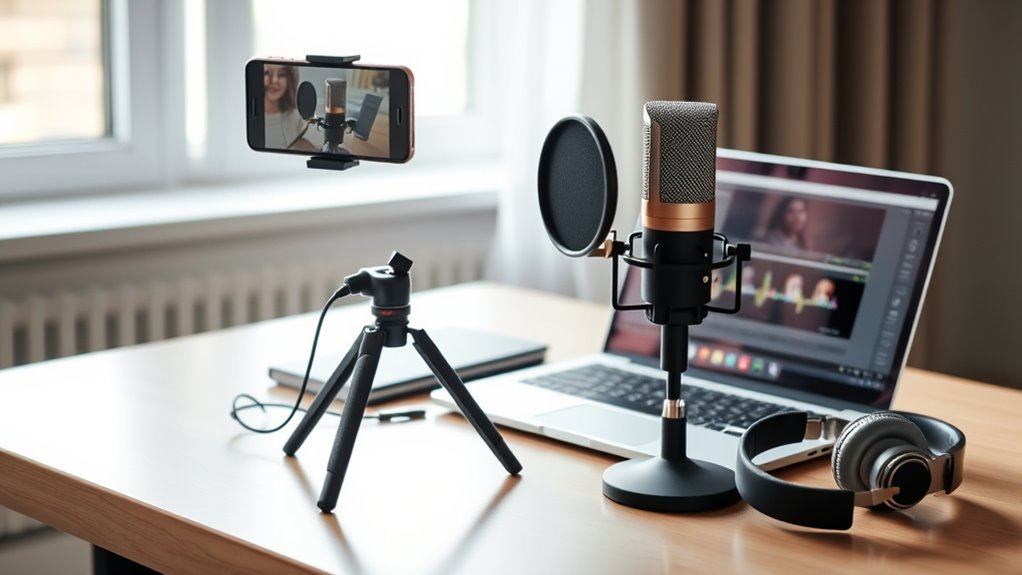
Selecting and Setting Up Your Microphone

Selecting the right microphone is essential for capturing clear, professional-quality audio, whether you’re recording in a dedicated studio space or on the go. External USB microphones are affordable, lightweight, and deliver much better sound than built-in mics. They connect easily via USB and often include headphone jacks for real-time monitoring. Choose a mic with simple plug-and-play setup to avoid complex configurations. The Shure MV7 Plus, for example, works well with laptops, iPads, and iPhones. Set up your microphone on a stable surface, connect it to your device, and adjust recording levels through your software. Keep the setup minimal to stay mobile and efficient. Proper microphone selection and setup guarantee your podcast sounds professional right from the start. Additionally, selecting a microphone that aligns with current hair trends 2025 can enhance your on-camera presence if you plan to incorporate video recordings into your podcast.
Recording Software Options for High-Quality Audio
Choosing the right recording software can make a big difference in your podcast’s sound quality. You’ll want to think about whether free options meet your needs or if paid programs offer extra features worth the investment. Compatibility and editing tools are also key to ensuring a smooth workflow from recording to post-production.
Free vs. Paid Software
While free recording software can be enough for beginners, paid options often offer advanced features that help you produce higher-quality audio. Paid programs like Adobe Audition or Hindenburg provide professional tools such as noise reduction, multitrack editing, and better plugin integration. They also typically include customer support and regular updates, ensuring smoother workflows. Additionally, some paid software supports Free Floating features that enable more flexible editing and mixing processes. Here’s what paid software offers: – Enhanced sound editing capabilities – Better noise suppression and mastering tools – Multitrack recording for complex setups – Priority customer support
On the other hand, free options like Audacity or GarageBand still deliver solid audio quality and are excellent for starting out. They’re ideal if you’re on a tight budget or just testing the waters.
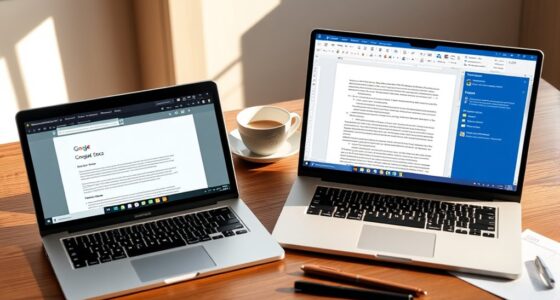
Compatibility & Features
When it comes to recording software, compatibility with your device’s operating system and hardware is key to guaranteeing smooth workflows and high-quality audio. You need software that runs seamlessly on your phone or laptop, whether you’re using Windows, macOS, or Android. Some programs, like Audacity, work across multiple platforms, making them versatile choices. Others, like GarageBand, are exclusive to macOS and iOS. Features matter too; look for options that offer noise reduction, multi-track recording, and real-time monitoring. Make certain your device has the necessary hardware support, such as a compatible microphone input or USB ports. Choosing software suited to your setup helps prevent technical issues, streamlines your recording process, and guarantees your audio sounds professional from the start.
Editing & Post-Processing
To achieve professional-sounding podcasts, selecting the right editing and post-processing software is essential. You want tools that are user-friendly yet powerful enough to refine your audio. Popular options include:
- Audacity: Free, open-source, easy to learn, and compatible with Windows, Mac, and Linux.
- Adobe Audition: Professional-grade, offers advanced editing features, and part of Adobe Creative Cloud.
- GarageBand: Built-in Mac app ideal for beginners, with intuitive controls and decent editing tools.
- Reaper: Affordable, customizable, and packed with features suitable for detailed post-production.
These programs allow you to clean up background noise, adjust volume levels, cut unwanted sections, and add effects to enhance your sound quality. Choosing the right software depends on your comfort level and budget.
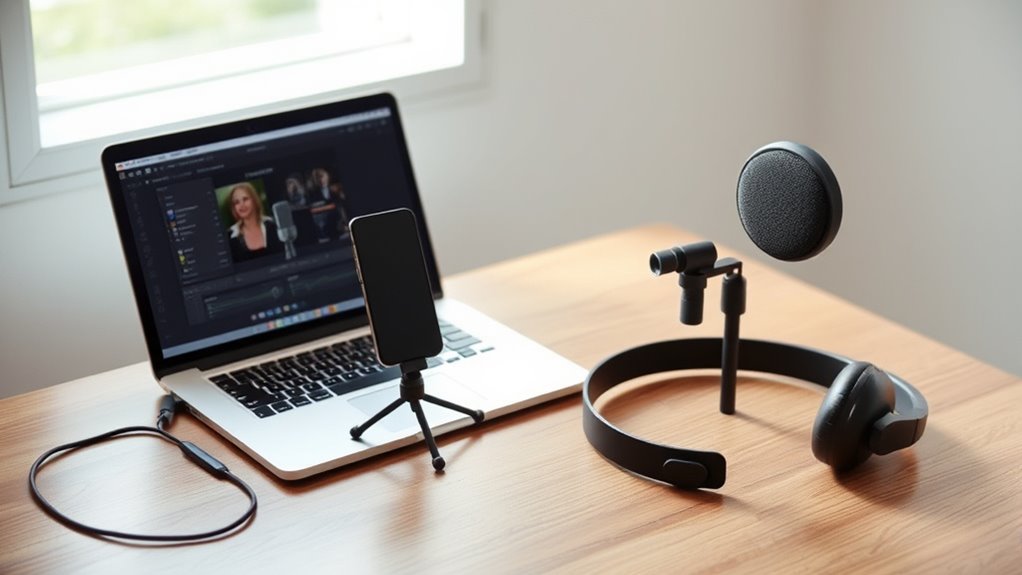
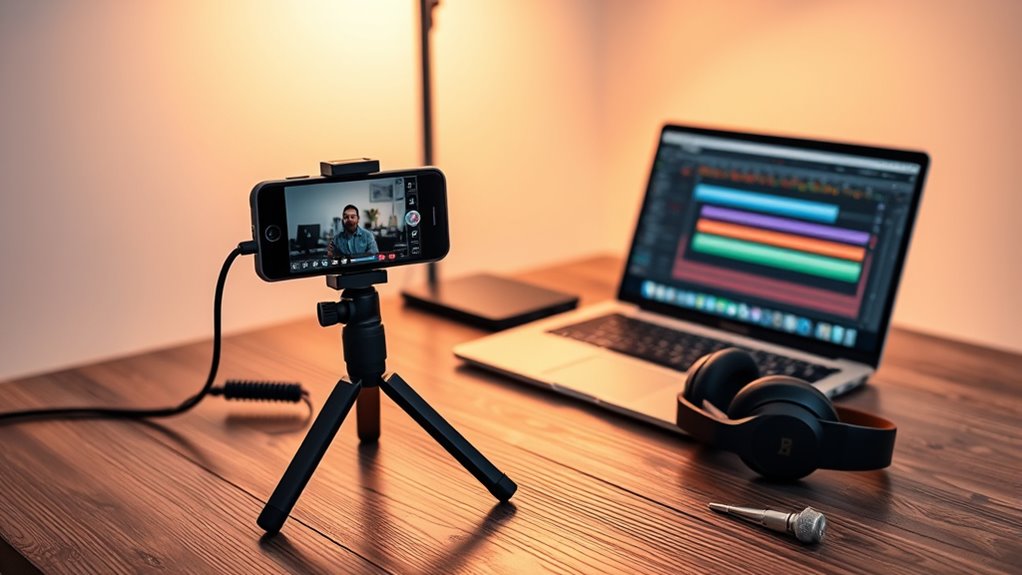
Assembling Your Portable Podcast Studio

Assembling your portable podcast studio begins with selecting a flat, stable surface to organize your equipment. Use a sturdy table or desk to keep everything steady and accessible. Place your laptop or phone nearby, along with your external microphone and headphones. Keep cables organized with clips or ties to prevent tangles. Connect your USB microphone to your device, ensuring the connection is secure. Set your headphones close for real-time monitoring. Minimize clutter by only bringing essential items—your device, microphone, headphones, and necessary cables. This keeps your setup lightweight and portable. Test your equipment before recording to confirm everything works smoothly. Focus on simplicity and tool organization, so you can quickly set up and start recording wherever you go. Developing a simple system for your gear helps maintain calm and order in your portable studio, which supports your overall productivity and comfort during recordings.
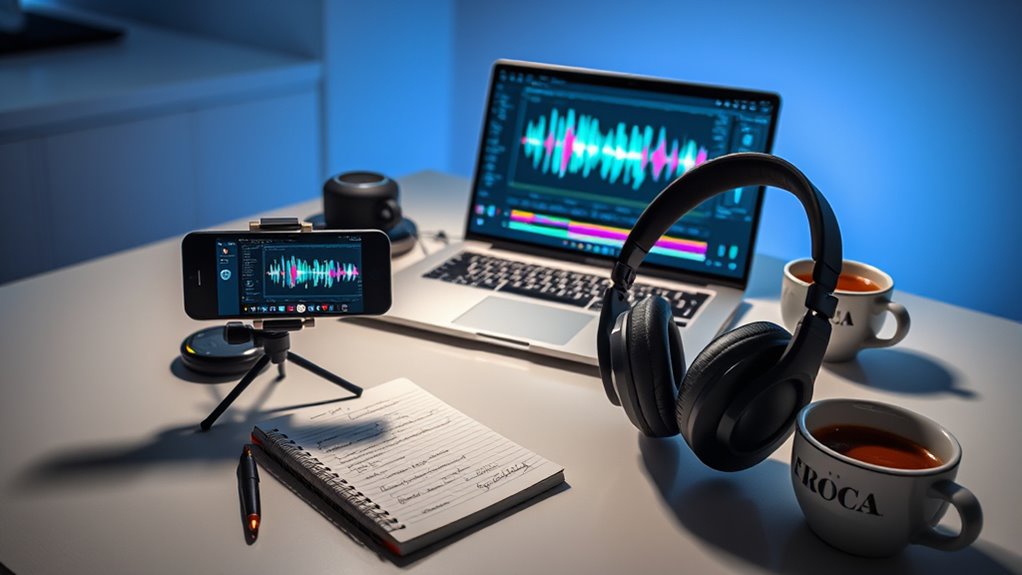
Tips for Achieving Clear and Professional Sound
To get clear and professional sound, start by choosing a quality microphone that captures your voice accurately. You should also control your recording environment by minimizing background noise and echo. Finally, optimize your audio settings, like adjusting levels and noise reduction, to guarantee your recordings sound polished.
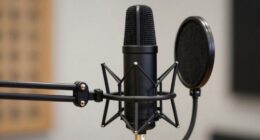
Choose Quality Microphone
Choosing the right microphone is essential for capturing clear, professional-quality sound in your podcast. A good microphone guarantees your voice comes through crisp and free of background noise. Consider these options to improve your audio:
- External USB microphones, which are affordable, lightweight, and easy to set up
- Microphones with built-in headphone jacks for real-time monitoring
- Models with adjustable gain control for better sound levels
- Compact designs that fit seamlessly into portable setups
- Selecting microphones with sound quality features similar to those used in professional at-home beauty tech recordings can significantly enhance your podcast’s audio clarity. Additionally, investing in audio equipment that minimizes external noise can further improve your recording environment. Being aware of battery performance and ensuring your equipment is well-maintained can also help prevent interruptions during recording sessions.
Control Recording Environment
Controlling your recording environment is essential for capturing clear, professional-quality audio. Start by choosing a quiet space, away from background noise like traffic, appliances, or conversations. Use soft furnishings—blankets, rugs, curtains—to absorb sound and reduce echo. Position yourself close to the microphone to ensure your voice is prominent and clear. Avoid reflective surfaces such as windows or hard walls, which can cause sound bouncing and muddiness. Turn off fans, air conditioners, or any electronics that generate noise. If possible, isolate your recording area or use a makeshift sound booth. These simple steps help minimize ambient noise and room reverb, resulting in a cleaner, more professional sound for your podcast. Additionally, understanding the principles of sound absorption can help you optimize your space even further.
Optimize Audio Settings
Adjusting your audio settings properly can make a significant difference in achieving a clear, professional sound for your podcast. First, set your microphone input level so it’s not too loud or too soft—aim for a level that peaks around -6 dB. Use headphones to monitor your audio in real-time, catching issues immediately. Enable noise reduction features or filters within your recording software to minimize background sounds. Ultimately, choose the right microphone placement: keep it about 6 inches from your mouth, slightly off-center to reduce plosives. Keep these tips in mind:
- Adjust input gain to avoid clipping or distortion
- Use noise suppression filters in your software
- Position your microphone correctly for clarity
- Monitor audio levels constantly during recording
- Understanding audio levels and their impact can help optimize your sound quality.
Final Steps: Editing, Publishing, and Sharing Your Podcast
Once you’ve finished recording your episodes, the next step is editing to guarantee your podcast sounds professional and polished. Use editing software like Audacity or Adobe Audition to trim unwanted sections, balance audio levels, and add music or effects. Once you’re satisfied, export your file in MP3 format for compatibility. Next, upload your episode to a podcast hosting platform such as Libsyn, Anchor, or Podbean. These platforms generate an RSS feed, which directories like Apple Podcasts and Spotify use to distribute your show. Share your podcast link across social media, websites, or email newsletters to reach listeners. Consistent publishing and promotion build your audience over time.
| Step | Action | Tools/Notes |
|---|---|---|
| 1 | Edit audio | Audacity, Adobe Audition |
| 2 | Export episode | MP3 format |
| 3 | Upload to hosting platform | Libsyn, Anchor, Podbean |
| 4 | Distribute to directories | Apple Podcasts, Spotify |
| 5 | Promote your episodes | Social media, website, email |
Frequently Asked Questions
How Can I Improve My Smartphone Microphone Quality for Podcasts?
To improve your smartphone microphone quality for podcasts, use an external USB microphone for clearer sound and reduced background noise. Always record in a quiet environment, and consider using specialized voice recording apps with noise reduction features. Keep your phone steady or use a tripod to avoid handling noise, and monitor your audio with headphones to catch issues early. Upgrading your mic and environment makes a noticeable difference.
What Are the Best Portable Lighting Options for Video Podcasts?
Looking to brighten up your video podcasts on the go? You’ll want portable lighting options that pack a punch. Consider rechargeable LED panel lights—they’re lightweight, adjustable, and provide consistent brightness. Ring lights are also a great choice for even, flattering illumination. For ultimate portability, clip-on LED lights or compact pocket-sized options work wonders. With the right lighting, your videos will look professional and enthralling, drawing viewers in every time.
How Do I Handle Background Noise During Recording Sessions?
To handle background noise during recording sessions, first choose a quiet space away from distractions. Use soft materials like blankets or foam panels to absorb echo and reduce ambient sounds. Wear headphones to monitor audio quality in real-time. If needed, invest in a good external microphone with noise reduction features. Finally, edit your recordings afterward to minimize any remaining background noise and guarantee clear, professional sound.
Can I Use Free Editing Software for Professional Podcast Production?
Yes, you can use free editing software for professional podcasting, but don’t assume it’s always enough. Tools like Audacity and GarageBand offer powerful features that can produce high-quality sound if you learn their ins and outs. However, you might hit limitations with advanced editing or effects. Still, with careful use and a critical ear, these free options can elevate your podcast to a professional level—if you’re willing to put in the effort.
What Are Common Mistakes to Avoid When Starting a Beginner Podcast?
When starting your beginner podcast, avoid poor audio quality by skipping external mics or monitoring your sound. Don’t ignore your content structure—plan your episodes to stay focused. Overloading on equipment can complicate setup; keep it simple. Also, neglecting to test your gear beforehand leads to technical issues. Ultimately, forget to promote your podcast—share it across platforms to grow your audience. Stay organized, prepared, and keep learning to improve with each episode.
Conclusion
Starting your podcast with just your phone and laptop is simple, affordable, and powerful. You can record great audio, edit effortlessly, and share your voice with the world. With the right equipment, the right setup, and a bit of passion, you can create professional-sounding episodes that captivate listeners and grow your audience. Embrace your creativity, take the first step, and turn your ideas into a podcast everyone will want to hear.