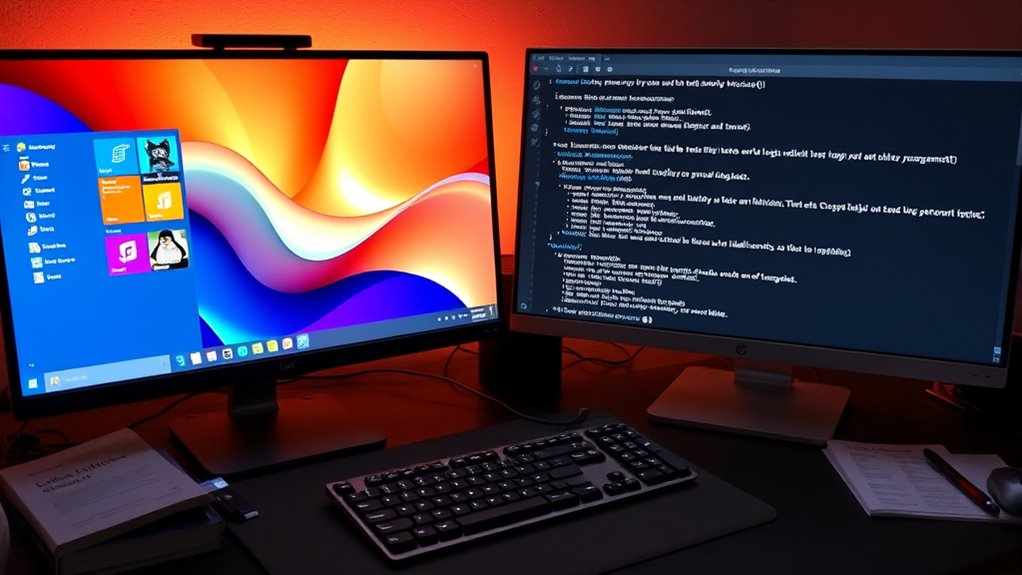
To dual-boot Windows and Linux, start by freeing up space on your drive—shrink Windows partition and create unallocated space. Next, make a bootable Linux USB using tools like Rufus. Install Windows first, then boot into Linux live environment, choose manual partitioning, and install Linux alongside Windows, ensuring the bootloader supports both systems. Carefully follow the setup; if you keep going, you’ll master boot management and troubleshooting tips.
Key Takeaways
- Backup important data and disable features like Fast Startup and BitLocker before partitioning.
- Shrink Windows partition in Disk Management to free space for Linux, then create bootable Linux USB.
- Boot from the Linux USB in live mode, then install Linux on the unallocated space using manual partitioning.
- Install GRUB bootloader during Linux setup to manage dual-boot options for Windows and Linux.
- After installation, verify both OS boots correctly and configure BIOS/UEFI settings as needed.

64GB – 17-in-1, Bootable USB Drive 3.2 for Linux & Windows 11, Zorin | Mint | Kali | Ubuntu | Tails | Debian, Supported UEFI and Legacy
✅For beginners, refer image-7, its a video boot instruction, and image-6 is "boot menu Hot Key list"
As an affiliate, we earn on qualifying purchases.
As an affiliate, we earn on qualifying purchases.
Preparing Your Disk Space and Partitions
Before installing Linux alongside Windows, you need to prepare your disk space carefully. Start by opening Windows Disk Management and shrinking your main partition, typically C:, to free at least 20-30 GB for Linux. Leave this space unallocated or create an empty partition; formatting will happen during Linux installation. Make sure to back up important files before making changes to avoid data loss. Confirm that the free space is contiguous and large enough for Linux root, swap, and optional home partitions. Additionally, disable features like Fast Startup and BitLocker encryption to prevent disk access conflicts during installation. Proper planning guarantees smooth setup and avoids partitioning issues, setting a solid foundation for your dual-boot system. Being aware of partitioning considerations helps ensure your disk setup is compatible and efficient for dual-booting. Also, understanding European cloud solutions can help you choose secure and sustainable software options during your setup process. Incorporating knowledge of disk management best practices can further streamline your partitioning process.

Linux Builder Learn How to Use Linux, Ubuntu Linux 22.04 Bootable 8GB USB Flash Drive – Includes Boot Repair and Install Guide
The preinstalled USB stick allows you to learn how to learn use Linux, boot and load Linux without…
As an affiliate, we earn on qualifying purchases.
As an affiliate, we earn on qualifying purchases.
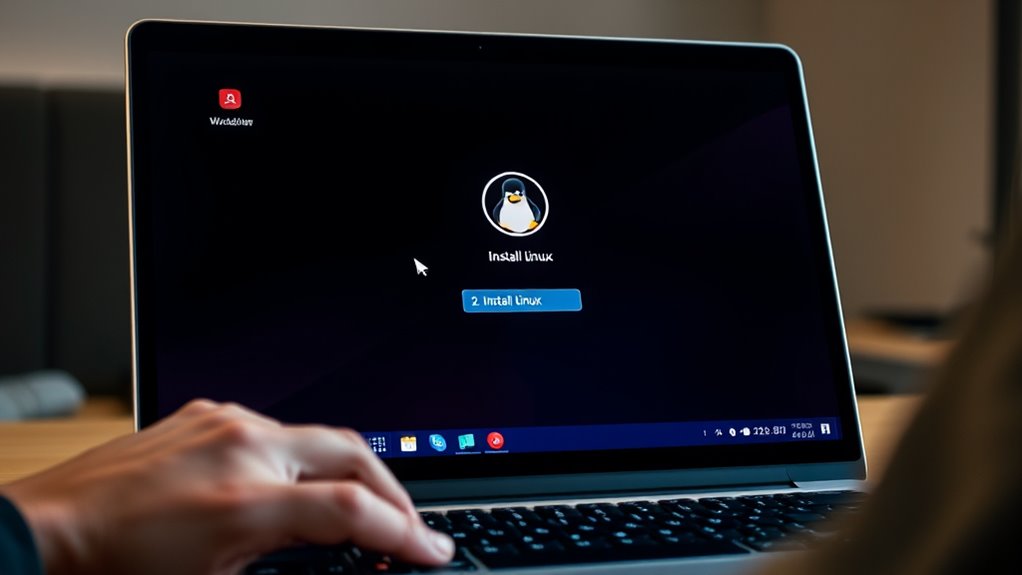
Creating Bootable Linux Installation Media

To create a bootable Linux installation media, start by downloading the ISO image of your preferred Linux distribution, such as Ubuntu or Linux Mint, from the official website. Once downloaded, you’ll need a tool to create a bootable USB drive. Use Rufus (Windows) or Etcher (cross-platform) to write the ISO onto your USB. Confirm your USB has at least 4 GB of free space. Before proceeding, verify that your BIOS or UEFI settings support booting from USB devices. Disable Secure Boot if necessary, especially on newer systems. Set the USB as the primary boot device or access the boot menu during startup using keys like F12 or F10. This process ensures your Linux installer is ready for the next step. Understanding your system’s boot process can help troubleshoot potential issues. Additionally, knowing how hardware compatibility impacts Linux installation can prevent common pitfalls. Being aware of your system’s boot configuration can also streamline the setup process.

Linux Basics for Hackers: Getting Started with Networking, Scripting, and Security in Kali
As an affiliate, we earn on qualifying purchases.
As an affiliate, we earn on qualifying purchases.
Installing Windows and Setting Up the Primary System
Installing Windows is a vital first step in setting up your dual-boot system, especially if you plan to install Linux afterward. Ensure you select the correct drive and partition during installation. Use the Custom option to control partitioning and avoid overwriting existing data. After installation, confirm Windows boots properly and update it fully. Disabling features like Fast Startup and BitLocker prevents conflicts with Linux later. Regularly perform seasonal maintenance such as cleaning and updates to keep your system running smoothly. Additionally, understanding system compatibility can help prevent hardware issues during setup. Being aware of top-rated operating systems can assist in selecting the best Linux distribution for your hardware and needs.

Grubs Frostline 5.0 Mossy Oak Breakup Boot Size 9
ALL-DAY COMFORT & WARMTH – Designed with Grubs 5.0 thermal technology, these insulated muck boots feature a moisture-wicking…
As an affiliate, we earn on qualifying purchases.
As an affiliate, we earn on qualifying purchases.
Booting Into Linux Live Environment and Starting Installation
Booting into the Linux live environment is the first step to begin your installation process. Insert your bootable USB drive containing Linux, then restart your PC. Access the boot menu by pressing keys like F12 or F10 during startup, and select your USB device. Once the Linux boot menu appears, choose “Try Linux” or “Live Mode” to run the OS without installing. This allows you to verify hardware compatibility and prepare for installation. Understanding hardware compatibility is essential for a smooth dual-boot setup. Additionally, checking system firmware settings can help ensure your hardware is configured correctly for Linux. Confirm USB boot support in BIOS/UEFI settings. Disable Secure Boot if necessary for your distro. Check that your system recognizes the USB device. Test hardware functionality like Wi-Fi and display. Access the installer from the live environment to begin setup. Being aware of hardware compatibility considerations can save troubleshooting time later. Knowing how to verify hardware driver support in the live environment can further streamline your installation process. It is also helpful to review any firmware updates that might improve hardware compatibility before proceeding.
Partitioning and Installing Linux Alongside Windows
To install Linux alongside Windows, you need to free up space by shrinking your existing Windows partition using Disk Management. Make sure to leave this space unallocated or as a new partition, since formatting will occur during Linux installation. Carefully plan your partition sizes for root, swap, and possibly home to ensure smooth dual-boot operation. Considering the resale value of your system can also help determine how much space to allocate for your Linux setup. Additionally, understanding hardware compatibility can prevent issues during installation and operation. It is also advisable to review your lease terms if your device is under warranty or lease, as certain modifications might affect your contractual agreements. Being aware of software licensing requirements can also ensure compliance with legal standards during dual-boot setup. Moreover, verifying that your BIOS or UEFI firmware supports boot configuration options is essential for a successful installation.
Shrinking Windows Partition
Before installing Linux alongside Windows, you need to free up space by shrinking your existing Windows partition. This step creates unallocated space for Linux without affecting your current data. Open Windows Disk Management, right-click your main partition (usually C:), and select “Shrink Volume.” Enter the amount of space to reduce, aiming for at least 20-30 GB for Linux. Make sure the space is left unallocated or as a new partition, as formatting will happen during Linux setup. Double-check that the freed space is contiguous and sufficient for all Linux partitions. Also, disable features like Fast Startup and BitLocker to prevent conflicts. Proper preparation avoids boot issues and data loss during installation. Additionally, verifying your system’s hardware compatibility ensures a smoother dual-boot experience. Reviewing backup procedures is also recommended to safeguard your data before making partition changes. Being aware of partition management strategies can help you better organize your drives and prevent accidental data loss. Understanding disk partitioning concepts can further assist in managing your drives effectively. To facilitate this process, using partitioning tools can provide more precise control over drive adjustments.
Creating Linux Partitions
Once you’ve created unallocated space for Linux, the next step is to partition it properly to guarantee a smooth dual-boot setup. You’ll need to create at least two partitions: one for the root filesystem and another for swap. Optionally, add a home partition for personal files. During installation, choose manual partitioning and assign the appropriate mount points. Confirm the EFI partition remains untouched if using UEFI, preserving Windows boot. Use the following table as a guide:
| Partition Type | Size | Purpose |
|---|---|---|
| Root (ext4) | 20-50 GB | Linux system files |
| Swap | 4-8 GB | Memory swap space |
| Home (ext4) | Remaining space | Personal data |
Careful partitioning prevents boot issues and ensures efficient Linux operation. Additionally, verifying the EFI system partition is properly configured helps maintain a reliable dual-boot setup.
Configuring the Bootloader for Dual-Boot Functionality
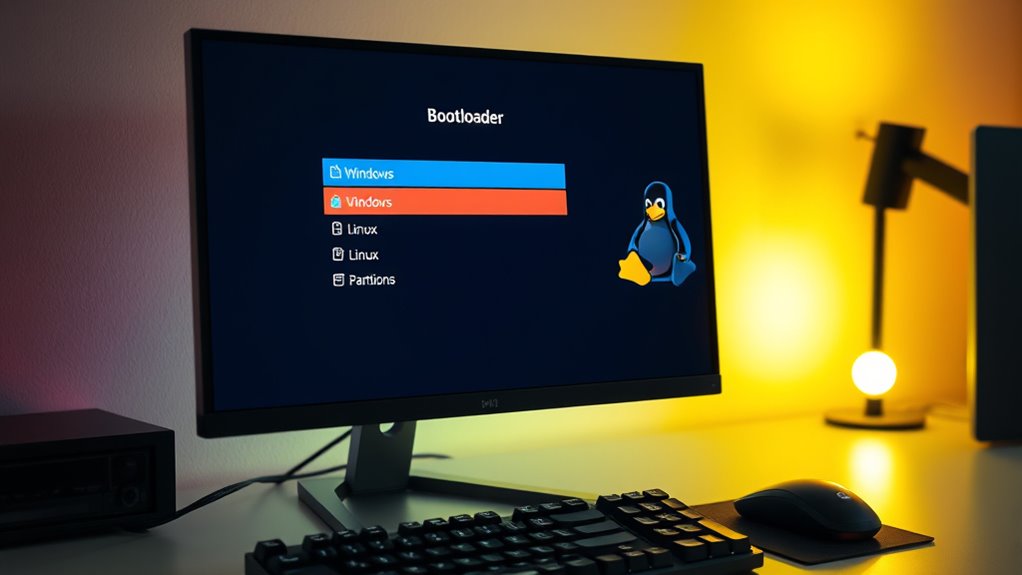
Configuring the bootloader is a crucial step in setting up a reliable dual-boot system, as it controls which operating system starts when you power on your computer. You’ll typically install GRUB during Linux setup, which detects both OSes and displays a boot menu. To guarantee smooth operation, verify that GRUB is correctly installed in the EFI partition, especially on UEFI systems. If Windows overwrites GRUB after updates, use a Linux live USB and boot-repair tools to restore it. You can also change the default OS or boot timeout by editing GRUB configuration files. Keep a backup of your bootloader settings before making modifications, and test booting into both OSes afterward to confirm everything works seamlessly.
Proper bootloader setup ensures seamless dual-boot operation and easy recovery if Windows overwrites GRUB.
- Confirm GRUB is installed in the EFI partition and detects both OSes
- Use boot-repair tools to restore GRUB if Windows overwrites it
- Edit `/etc/default/grub` to change default OS or timeout
- Keep backups of bootloader configurations for recovery
- Verify booting into both Windows and Linux after setup
Post-Installation Checks and Boot Management
After completing the installation of both Windows and Linux, it’s essential to perform thorough post-installation checks to guarantee your dual-boot system functions smoothly. First, verify that both operating systems boot correctly. Select each OS from the GRUB menu and confirm they load without errors. Check hardware functionality, including network, graphics, and peripherals, to ensure drivers are working properly. Confirm that the shared partition (if created) is accessible from both OSes and that data can be read and written without issues. Update your Linux system and drivers to optimize performance. Review boot order in BIOS/UEFI settings to ensure the preferred OS boots first. Finally, back up your bootloader configuration and partition table to facilitate recovery if future updates cause boot problems.
Troubleshooting Common Dual-Boot Issues
If your dual-boot setup isn’t working as expected, bootloader issues are often to blame. You might need to repair the bootloader or fix boot loop problems that prevent you from accessing either OS. These steps can help you restore a smooth startup and regain control over your system.
Bootloader Repair Steps
When your dual-boot setup encounters bootloader issues, restoring the GRUB bootloader is often the key to resolving them. First, boot from your Linux live USB and open a terminal. Then, identify your Linux partition with `lsblk` or `fdisk -l`. Next, mount the partition and reinstall GRUB using commands like `sudo mount /dev/sdXY /mnt` and `sudo grub-install –root-directory=/mnt /dev/sdX`. Finally, update GRUB with `sudo update-grub` to detect Windows and Linux.
- Boot into a live Linux session if needed
- Use `boot-repair` tool for automatic fixes
- Confirm EFI partition mounting if using UEFI
- Check BIOS boot order settings
- Back up current bootloader configurations before repair
Resolving Boot Loop Issues
Are you experiencing a boot loop where your system keeps restarting during startup without reaching your OS? If so, first boot into your Linux live USB or Windows recovery environment. For Linux, use a live session and run boot repair tools like Boot-Repair to fix GRUB or EFI issues. In Windows, try automatic repair via startup options or use Command Prompt to rebuild the boot configuration (bcdedit commands). Check for recent updates or changes that might have caused the loop, such as Windows updates overwriting GRUB or BIOS/UEFI settings. Disable Secure Boot temporarily to allow Linux bootloader access. If necessary, restore previous bootloader backups or reinstall the bootloader. Testing and adjusting your boot order or resetting BIOS settings can also resolve persistent boot loops.
Frequently Asked Questions
How Do I Recover My Bootloader if Windows Overwrites GRUB?
If Windows overwrites your GRUB bootloader, you need to restore it. Boot from your Linux live USB and open a terminal. Use tools like Boot-Repair or run commands such as `sudo grub-install` and `sudo update-grub`. Follow prompts to reinstall GRUB to your EFI partition. After completion, reboot your system. GRUB should now recognize both Windows and Linux, allowing you to choose your OS at startup.
Can I Dual-Boot Linux on a System With Secure Boot Enabled?
Imagine you’re back in the days of dial-up internet, but now, you can dual-boot Linux with Secure Boot enabled. Yes, you can, but it requires some prep. First, check if your Linux distro supports Secure Boot; most recent versions do. You might need to enroll Linux’s keys in your UEFI firmware. Disable Secure Boot temporarily if issues arise, then re-enable after setup to keep your system secure.
Is It Safe to Resize Partitions Without Data Loss?
Resizing partitions can be safe if you use reliable tools and follow proper procedures, but there’s always a risk of data loss. You should back up all important files before attempting any resize. Make sure to defragment your Windows partition beforehand, and use reputable partitioning software like Windows Disk Management or GParted. Proceed carefully, double-check your selections, and avoid interrupting the process to minimize potential data loss.
How Do I Share Files Between Windows and Linux?
You can share files between Windows and Linux effortlessly by setting up a shared partition formatted as NTFS. This way, it’s like having a magic bridge connecting both worlds, allowing you to access and modify files seamlessly from either OS. Just make certain you’ve set the right permissions, and avoid formatting the shared partition during Linux installation. It’s the easiest way to keep your data synchronized across your dual-boot universe!
What Should I Do if Linux Doesn’t Detect My Windows Installation?
If Linux doesn’t detect your Windows installation, start by booting into Linux and opening a terminal. Run the command ‘sudo update-grub’ to force GRUB to scan for installed OSes. If Windows still doesn’t appear, check if your EFI partition has the Windows boot files. You might need to reinstall or repair the Windows bootloader using Windows recovery tools. Also, make certain Secure Boot is disabled, as it can interfere with detection.
Conclusion
Now that you’ve successfully set up your dual-boot system, you’re ready to explore both worlds at your fingertips. Remember, like crafting a fine tapestry, patience and attention to detail make all the difference. Don’t fret if some issues arise; even the most seasoned techsmiths faced similar dragons. Embrace this journey, and soon you’ll be wielding your PC like a true digital knight, ready to conquer new horizons with the wisdom of both Windows and Linux at your side.